Why Is My Robot Vacuum Emptying Station Not Sucking Out The Dirt?
Your robot vacuum promised you one thing. It would clean the floor and empty itself. No more touching dusty bins. But now the base sits there and does nothing. The robot docks, you hear a weak whir, and the dirt stays put. It feels like a broken promise.
Take a breath. This problem is common. Most of the time, the fix is simple and free. You do not need a repair shop. You do not need a new machine. You need a few minutes and a clear plan.
In this guide, I walk you through every reason your emptying station stops sucking out the dirt. I give you step by step fixes for each one.
Key Takeaways:
- A clogged air path is the number one cause. Hair, socks, and paper wads block the dock hose and the robot dustbin port. Clear the path first before anything else.
- A full or dirty dock bag kills suction fast. When the bag fills or the bag filter clogs, air cannot move. Empty it or swap it.
- A bad seal stops the vacuum from pulling dirt. The robot must sit flush on the dock. A loose brush cover, a misaligned park, or a missing inlet plate breaks the seal.
- Dirty contacts and sensors confuse the dock. Wipe the metal charging strips and the bin sensors so the station knows to start.
- Wet or clumped debris jams everything. Damp dust turns into paste and blocks the hose. Keep the whole system dry.
- Regular cleaning prevents most failures. A five minute weekly check saves you from big problems and keeps strong suction for years.
Understand How The Emptying Station Actually Works
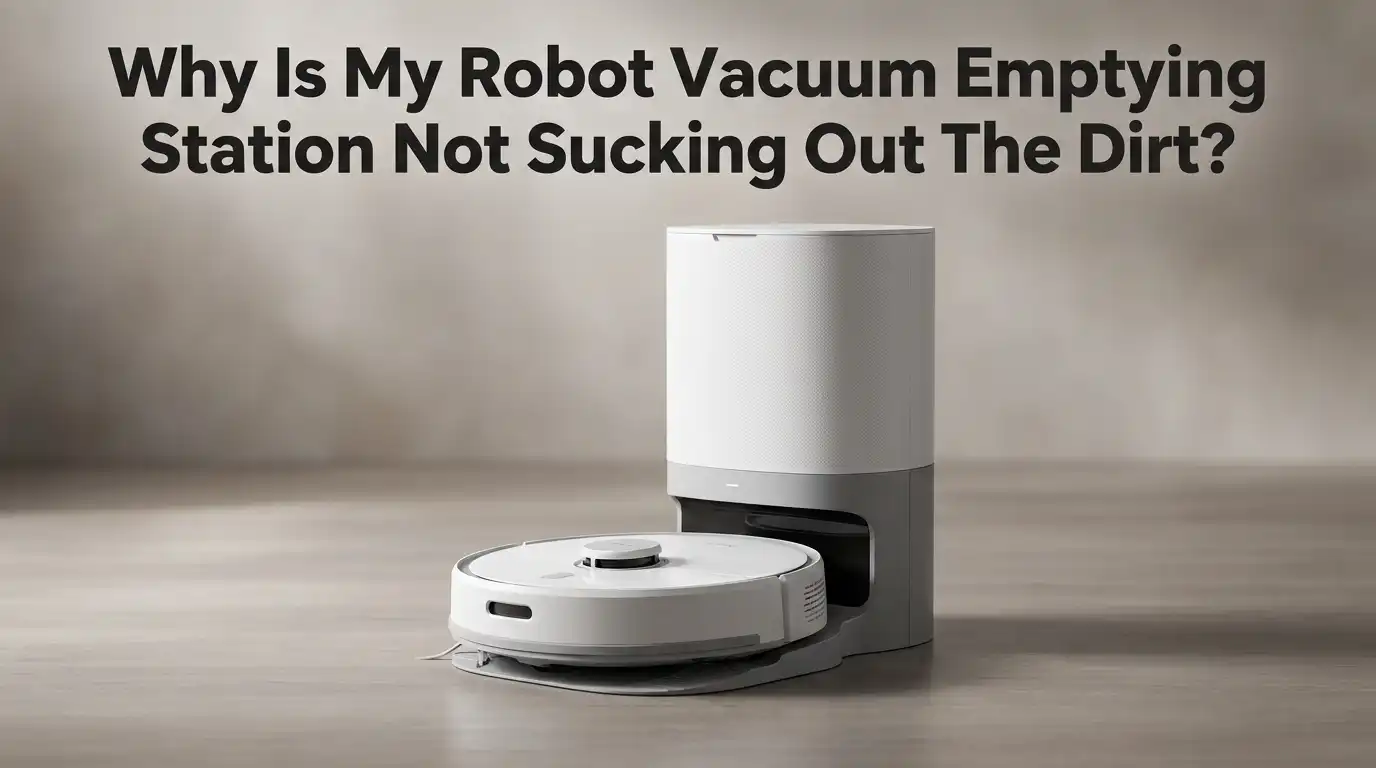
Before you fix it, know how it works. The station is a small upright vacuum built into the dock. When your robot parks, a door under the robot dustbin opens. The dock fires a burst of suction through a hose. This pulls the dirt up and into a large bag or bin inside the base.
The whole system depends on airflow. Air must move freely from the robot bin, through the port, up the dock hose, and into the bag. Any block in that path stops the suction. Think of it like a straw. One kink and nothing moves.
Once you picture this path, troubleshooting gets easy. You just find where the air stops. Every fix below targets one part of that path.
Check For Clogs In The Air Path First
This is the most common cause, so start here. Turn off the dock and unplug it. Look inside the robot dustbin port. Then check the dock hose or duct. Flip the dock over and open the base panel to see the channel.
You will often find a hair ball, a paper scrap, or lint packed inside. Pull it out with your fingers or a bent wire. A pipe cleaner or a long chopstick works well for deep clogs. Shine a flashlight down the duct to spot hidden blocks.
Pros: This fix is free, fast, and solves the problem most of the time. Cons: Deep clogs can be hard to reach, and you may need to remove screws on some models to open the full duct.
Empty Or Replace The Dust Bag Or Bin
A full bag cannot hold more dirt, so suction drops to nothing. Open the dock lid and check the bag or bin. If it looks packed, that is your answer. A bag around 70 percent full already weakens airflow.
For bagged docks, slide the full bag out and drop in a fresh one. Make sure the cardboard collar clicks fully into the slot. For bagless docks, empty the bin and knock out the stuck dust. A bag seated the wrong way leaves a gap that leaks air and stops the pull.
Pros: Bags trap dust so you never touch it, which helps allergy sufferers. Cons: Bags cost money over time. Bagless bins are free to reuse but expose you to dust each time you empty them.
Clean The Dock Filter And Bag Filter
Many stations hide a filter near the bag. This filter catches fine dust so the motor stays clean. Over time it clogs. A clogged filter chokes the airflow even when everything else is clear.
Find the filter behind or below the bag slot. Pull it out and tap it over a trash can. If your model allows it, rinse the filter under cool water. Let it dry fully for at least 24 hours before you put it back. A damp filter blocks air and can grow mold.
Pros: Cleaning restores strong suction and costs nothing. Cons: Washable filters wear out and need replacing every few months, and a wet filter installed too soon makes the problem worse.
Fix The Seal Between The Robot And The Dock
The dock can only pull dirt if the robot sits tight against it. A weak seal lets air leak in from the sides, so the suction has no force. This is a sneaky cause that many people miss.
Check that the robot parks in the exact spot each time. Even a small gap breaks the seal. Clear any dust, crumbs, or pet hair from the dock ramp and the robot base. Make sure the little door on the robot bin opens and closes freely without sticking.
Pros: Fixing the seal is quick and needs no parts. Cons: Some docking gaps come from software or worn parts, which are harder to solve on your own.
Inspect The Main Brush Cover And Bin Port
Here is a fix many owners never think about. On many robots, the main brush cover forms part of the air seal for emptying. If you took it off to clean the brushes and put it back wrong, the seal fails.
Flip the robot over. Remove the brush cover and look at the slots. Re-seat it so every tab clicks into place. When it is right, all the tabs sit hidden and flush. A crooked cover leaves an air leak that stops the dock from sucking.
Also check the bin port itself for a stuck flap or trapped debris. Pros: This solves a hidden cause in seconds. Cons: It is easy to overlook, and some covers feel fiddly to line up correctly.
Clean The Charging Contacts And Sensors
Sometimes the dock never even tries to empty. The robot docks, but nothing happens. Dirty contacts often cause this. The dock and robot talk through metal charging strips. Dust blocks that signal.
Wipe the metal contacts on the bottom of the robot and on the dock ramp. Use a dry cloth or a slightly damp one, then dry them. Clean the bin sensors too, since a covered sensor makes the robot think the bin is already empty. Look behind the front bumper, since dust hides there and confuses the robot.
Pros: A simple wipe restores communication and costs nothing. Cons: If the contacts are corroded or bent, cleaning alone will not fix them and you may need a repair.
Remove The Air Inlet Plate If It Is Blocking Flow
Some docks ship with a small plate that covers an air inlet. This plate protects the port during shipping. If you never removed it, or if it slid back into place, air cannot flow. This tiny piece stops the whole system.
Look next to the dustbin slot inside the dock. Check for a plastic cover or plate over an opening. Remove it or make sure it sits in the correct position for emptying. Read your model guide, since not every dock has this part.
Pros: This is a one time fix that takes seconds once you spot it. Cons: It is easy to miss because the plate is small, and putting it in the wrong spot again brings the problem back.
Deal With Wet Or Clumped Debris
Moisture is the enemy of any emptying dock. If you vacuum damp floors or spilled liquid, the dust turns to paste. This paste sticks inside the hose and hardens. Dry suction cannot move sticky clumps.
Never let your robot pick up wet messes unless it is built for that. Check the robot bin and dock duct for damp, packed debris. Scrape it out and let every part dry fully before you run the dock again. Keep the dock in a dry room away from bathrooms.
Pros: Keeping things dry prevents clogs and protects the motor. Cons: Once wet debris hardens inside the duct, it takes real effort to scrape out, and it can leave a lasting smell.
Check The Emptying Settings In The App
The problem may not be hardware at all. Your app controls how and when the dock empties. A setting may be turned off. Sometimes an update resets it. A missing empty option in the app points to a software cause.
Open the app and find the auto empty setting. Turn it on and set the frequency you want. Check for a firmware update, since a fresh update often fixes emptying bugs. If the button to empty is missing, restart both the robot and the dock.
Pros: Software fixes are fast and need no tools. Cons: Updates sometimes create new bugs, and app menus change often, so the setting may move to a new spot.
Perform A Full Reset Of The Robot And Dock
When single fixes fail, a reset clears glitches. Software can freeze in a way that no cleaning solves. A reset gives the whole system a fresh start. Try this after you rule out clogs and seals.
First, unplug the dock and wait 30 seconds. Plug it back in. Then restart the robot using its power button or the app. For a deeper reset, follow your model steps to restore factory settings, but note this may erase your saved maps.
Pros: A reset fixes stubborn software faults with little effort. Cons: A factory reset deletes your maps and settings, so you must set up the robot again from the start.
Know When To Contact Support Or Replace Parts
Sometimes the fault is real hardware. The dock motor can burn out. A sensor can die. A duct can crack. If you tried every step and the dock still fails, the problem is deeper. Do not keep forcing a broken motor, since that can cause more damage.
Check if your machine is still under warranty. Contact the maker with a clear list of what you already tried, since this speeds up their help. Ask if a replacement bag lid, filter, or dock motor is sold as a part.
Pros: Support can send free parts under warranty and give model specific advice. Cons: Out of warranty repairs cost money, and shipping the dock back takes time you may not want to spend.
Build A Simple Maintenance Routine To Prevent This
The best fix is the one you never need. A short routine keeps your dock strong for years. Most emptying failures come from skipped cleaning, not broken parts. A few minutes each week saves you real trouble.
Once a week, check the robot bin port and the dock hose for clogs. Once a month, tap out or wash the filter and wipe the contacts. Replace the bag before it gets fully packed, not after. Keep the dock area clear and dry at all times.
Pros: Routine care prevents clogs, saves money, and keeps suction strong. Cons: It takes a small habit to stay consistent, and skipping a few weeks lets problems build up again.
Frequently Asked Questions
Why does my robot vacuum dock make noise but not empty the bin?
The motor runs, but airflow is blocked. This points to a clog in the hose, a full bag, or a broken seal. Check the air path first, then the bag, then how the robot sits on the dock.
How often should I empty the dust bag in my station?
Change the bag before it reaches 70 percent full. For heavy homes with pets, that may be every two to three weeks. For light homes, a bag can last one to two months. A full bag always weakens suction.
Can wet dirt damage my emptying station?
Yes. Wet debris turns to paste and clogs the duct. It can also harm the motor and cause a bad smell. Keep the dock dry and never let the robot pick up liquid unless it is a wet dry model.
Why does my robot dock fine but the dock never starts emptying?
This is often a signal problem. Dirty charging contacts or a covered bin sensor stop the dock from knowing to start. Wipe the metal contacts and sensors. Also check that auto empty is turned on in your app.
Will resetting my robot vacuum delete my saved maps?
A simple power restart keeps your maps. A full factory reset usually erases them. Try the power restart first. Only use a factory reset as a last step, and expect to set up your maps again after.
How do I know if the problem is a clog or a broken motor?
Clogs are the most common cause, so check those first. If the air path is clear, the bag is fresh, the seal is tight, and the dock still fails, the motor may be the issue. At that point, contact support.

Hi, I’m Grace Bell, the founder of CleanFloorVault.com, where I personally test and review vacuum cleaners to help you find the perfect tool for a spotless home.