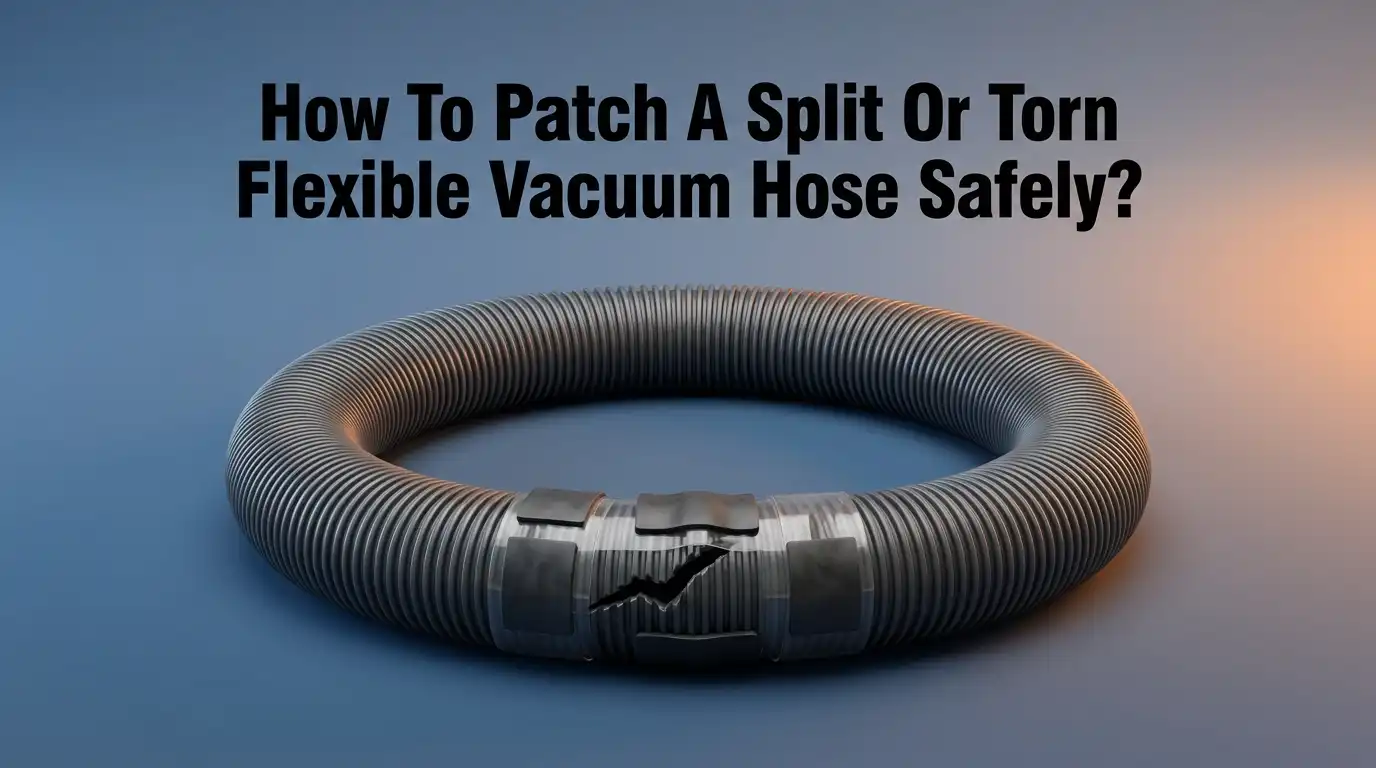
How To Patch A Split Or Torn Flexible Vacuum Hose Safely?
A cracked vacuum hose can turn a quick cleaning job into a frustrating chore. You push the vacuum across the floor, but the suction feels weak. You hear a strange whistling sound near the handle.
These are classic signs of a split or torn hose. The good news is that you do not need to buy a brand new vacuum. You can fix the hose yourself at home with a few simple tools.
This guide walks you through every step. You will learn how to find the leak, pick the right repair method, and seal the damage safely.
Key Takeaways
- Find the leak first. Run your hand along the hose while the vacuum runs. You will feel air escaping from the crack or tear. Marking the spot saves time later.
- Silicone self fusing tape works best for most small splits. It bonds to itself, seals tight, and does not leave sticky residue. This is the top choice for a lasting fix.
- Clean the hose before you patch it. Dirt and grease stop tape and glue from sticking. A quick wipe with rubbing alcohol makes a huge difference in how long your repair lasts.
- Cut and reconnect the hose when the tear sits near the handle. Trimming away the damaged end and reattaching the good part often gives the strongest result.
- Test your repair right away. Turn the vacuum on and feel for escaping air. A good patch restores full suction instantly. A weak one needs another wrap of tape.
- Safety comes first. Always unplug the vacuum before you work. Never cut into a hose that carries electrical wires inside it.
Why Flexible Vacuum Hoses Split Or Tear
Flexible vacuum hoses take a lot of stress every day. You bend them, stretch them, and drag them around furniture. Over time, this constant movement weakens the material.
The most common failure point is right behind the handle. This is where you pull and twist the hose the most during cleaning.
Age also plays a big role. Plastic and rubber hoses become brittle after months of use. Cold temperatures make them stiff and easy to crack. Sharp objects like table legs or door edges can slice the surface too.
Knowing why the hose fails helps you prevent future damage. You can handle the hose more gently and store it in a warm, dry place. A little care goes a long way toward keeping your vacuum healthy and your repair job simple.
Signs Your Vacuum Hose Has A Leak
You may not see the crack right away. Many splits hide under a layer of dust or sit on the underside of the hose. But your vacuum gives you clear clues when air escapes. Weak suction is the biggest warning sign. The vacuum struggles to pick up dirt that it grabbed easily before.
Listen closely while you clean. A hissing or whistling noise often means air is leaking through a tear. You might also feel a gentle breeze on your hand as you move it along the hose. This escaping air tells you exactly where the problem starts.
Sometimes the hose looks fine but still leaks at the connection points. Check where the hose meets the handle and the machine. Loose fittings act just like a torn hose and cause the same drop in power.
Gather The Tools You Need For The Repair
A smooth repair starts with the right supplies. You do not need a full workshop. Most items already sit in your home or cost very little at a hardware store. Having everything ready before you start saves you from stopping halfway through the job.
Here is a simple list of what to keep on hand:
- Silicone self fusing tape or electrical tape for sealing the crack.
- Rubbing alcohol and a clean cloth to prepare the surface.
- Sharp scissors or a utility knife for cutting tape or trimming the hose.
- Strong glue or epoxy for connection repairs.
- A rubber glove or inner tube patch for larger holes.
Choose your materials based on the size of the damage. A tiny pinhole needs only tape. A big rip near the handle may call for cutting and gluing. Gather what fits your situation and set it all on a clean table.
Step One: Unplug The Vacuum And Stay Safe
Safety always comes before repair. Turn off the vacuum and pull the plug from the wall. This simple act protects you from electric shock while you work. Never skip this step, even for a quick patch. A running motor or live wire creates real danger.
Some hoses carry electrical wires inside their walls. These wires power tools or lights on the vacuum head. Do not cut into this type of hose unless you know exactly where the wires sit. Cutting through them can damage the machine or cause a shock.
Work in a well lit space so you can see the damage clearly. Keep pets and children away from your tools. A calm and safe setup helps you focus and do the job right the first time. Take your time and stay alert.
Step Two: Find And Mark The Exact Leak
You cannot fix what you cannot see. Finding the exact leak is the most important step in the whole process. Plug the vacuum back in briefly and turn it on. Now run your bare hand slowly along the entire length of the hose. You will feel a stream of air where the crack sits.
Move your hand around the full circle of the hose at each spot. Leaks often hide on the bottom or side where you do not look. When you feel the escaping air, stop right there. Turn the vacuum off and unplug it again.
Mark the leak with a piece of chalk or a small sticker. A clear mark keeps you focused on the right spot. This trick stops you from wasting tape on parts of the hose that are still perfectly fine.
Step Three: Clean The Hose Before You Patch
A clean surface is the secret to a lasting repair. Dust, grease, and old dirt stop tape and glue from sticking properly. Skipping this step is the number one reason patches fail. Take a few minutes to prepare the area around the crack.
Dampen a clean cloth with rubbing alcohol. Wipe the area around the leak firmly to remove all grime. Alcohol dries fast and leaves no oily film behind. This gives your tape or glue a fresh, dry surface to grip.
Let the hose dry completely before you move on. Even a little moisture weakens the bond. If you do not have alcohol, warm soapy water works too, but you must dry the hose fully afterward. A spotless surface makes the difference between a fix that lasts weeks and one that lasts years.
Method One: Patch With Silicone Self Fusing Tape
Silicone self fusing tape is the top pick for most vacuum hose repairs. This tape has no sticky glue. Instead, it bonds to itself and forms a solid, airtight seal. The result feels almost like a single piece of rubber wrapped around your hose.
To use it, cut a length long enough to wrap the crack several times. Start about two inches before the leak. Stretch the tape as you wrap and overlap each layer by half. Continue two inches past the crack on the other side. Press firmly to help it fuse.
Pros: It stays flexible, resists water and heat, and never dries out or peels. It leaves no messy residue and lasts a long time.
Cons: It costs a bit more than basic tape. You may not have it at home, so a store trip is often needed.
Method Two: Wrap With Electrical Tape
Electrical tape is a quick and cheap fix that most people already own. It stretches well and molds into the grooves of a ribbed hose. This makes it a solid choice for a fast, temporary seal. Many people use it in a pinch when they cannot wait for better supplies.
Start wrapping a couple of inches before the crack. Pull the tape tight and press it into each ridge of the hose as you go. Overlap the layers so no gaps remain. Finish an inch or two past the damage for a firm hold.
Pros: It is cheap, common, and easy to apply. It stretches to fit curves and works right away.
Cons: It loses grip over time as the glue dries out. It can leave a sticky mess and may need replacing every few weeks.
Method Three: Use A Rubber Glove And Tape For Big Holes
Sometimes a small strip of tape is not enough. Large holes and wide tears need extra backing to hold the seal. A rubber glove works as a strong patch over the damaged area. The rubber blocks the air while the tape locks it in place.
Cut a piece of a rubber glove or an old inner tube larger than the hole. Wrap it snugly around the crack so it covers the whole gap. Hold it firmly in place with one hand. Then wrap tape tightly over the rubber, pressing it into the hose grooves.
Pros: It handles big tears that tape alone cannot fix. The rubber adds a strong air barrier and uses cheap materials.
Cons: It looks bulky and rough. The patch can shift if you do not wrap it tight enough, so it needs a careful hand.
Method Four: Cut And Reconnect The Hose
When the tear sits near the handle, cutting is often the best answer. This spot takes the most strain, so patches rarely last there. Removing the damaged section gives you a clean, strong repair. Your hose ends up only a little shorter than before.
First, cut straight through the split with a sharp knife. Remove the small damaged piece from inside the handle. Press the release tab to free the locking ring if your hose has one. Then thread the good end of the hose back into the handle and clip it shut.
Pros: It gives the strongest and cleanest fix with no bulky tape. The hose looks almost new when you finish.
Cons: It shortens the hose slightly. It will not work on hoses with a power switch or electrical wires inside, since cutting damages them.
Method Five: Seal Loose Connections With Glue Or Epoxy
Not every problem is a hole in the middle of the hose. Sometimes the hose pulls loose from the handle or the machine port. Air leaks out at these joints just like a crack. Glue or two part epoxy fixes these loose ends firmly.
Clean both surfaces with alcohol first. Apply a thin, even layer of epoxy around the hose end. Push it back into the fitting and hold it steady. Let the glue cure fully before you use the vacuum, which often takes several hours.
Pros: It creates a permanent, airtight bond at the joints. Epoxy holds strong and resists the pull of daily use.
Cons: It takes time to dry, so you cannot vacuum right away. Once it sets, you cannot easily take the parts apart again if you need to.
Step Four: Test Your Repair And Check For Air Leaks
You finished the patch, but the job is not done yet. Testing tells you if the repair truly worked. Plug the vacuum back in and turn it on. Feel for suction at the end of the hose. Strong pull means your fix holds well.
Now run your hand over the patched area again. If you still feel air escaping, the seal has a gap. Add another layer of tape or press the existing wrap tighter. Sometimes a second wrap is all you need.
Listen for that hissing sound too. Silence means success. A good repair restores the vacuum to full power right away. Take a moment to enjoy the strong suction you just brought back. If the leak returns quickly, consider a stronger method like cutting the hose.
How To Prevent Future Hose Damage
A good repair is great, but prevention is even better. Small habits keep your hose healthy for years. The way you handle and store the vacuum makes a real difference. A few simple changes stop most cracks before they start.
Here are some easy habits to follow:
- Avoid yanking the hose around corners. Pull the whole vacuum along instead of straining the hose.
- Store the vacuum in a warm, dry spot. Cold makes plastic brittle and prone to cracking.
- Do not stretch the hose to its full limit during use. Give it slack so the material does not tear.
Check the hose now and then for early signs of wear. Catching a tiny crack early lets you seal it fast. Gentle care extends the life of your hose and saves you from repeat repairs down the road.
When To Replace The Hose Instead Of Patching
Sometimes a repair is not the smart choice. A hose with many cracks along its length is not worth patching. Each patch adds bulk and the next leak appears quickly. In these cases, a new hose gives you better value and less frustration.
Hoses with power switches or internal wires also need replacement, not repair. Cutting or taping these can break the electrical parts inside. If the damage sits near these wires, buy the correct replacement hose for your model.
Think about your time and effort too. If you patch the same hose again and again, the repairs cost more than a new part. A fresh hose restores full performance with no worry. Weigh the size of the damage against the price of a new hose, then choose the option that serves you best.
Frequently Asked Questions
Can I use duct tape to fix a vacuum hose?
You can use duct tape as a last resort, but it is not the best choice. Duct tape is bulky and its glue melts over time. This leaves a sticky mess on your hose. Silicone tape or electrical tape gives a cleaner and longer lasting seal. Save duct tape for a quick emergency fix only.
How long will a taped vacuum hose repair last?
The lifespan depends on the tape you use. Silicone self fusing tape can last for years because it does not dry out. Electrical tape usually holds for a few weeks or months before the glue weakens. A cut and reconnect repair lasts the longest since it removes the damaged part completely.
Is it safe to cut a vacuum hose to repair it?
Cutting is safe only for hoses without internal wires. Many hoses carry electrical wires for power tools or brush rolls. Never cut into these, since you can break the wiring or cause a shock. Always unplug the vacuum first and check for wires before you make any cut.
Why does my vacuum lose suction even after I patch the hose?
A patch may not seal every gap on the first try. Air can still escape from a loose wrap or a second hidden crack. Run your hand along the whole hose again to find any remaining leaks. Also check the fittings at both ends, since loose connections cause the same suction loss.
Can I still use my vacuum right after patching it?
It depends on the method you chose. Tape repairs let you use the vacuum right away. Glue and epoxy need time to cure first, often several hours. Using the vacuum too soon breaks the bond before it sets. Always read the drying time and wait for glue based repairs to harden fully.

Hi, I’m Grace Bell, the founder of CleanFloorVault.com, where I personally test and review vacuum cleaners to help you find the perfect tool for a spotless home.