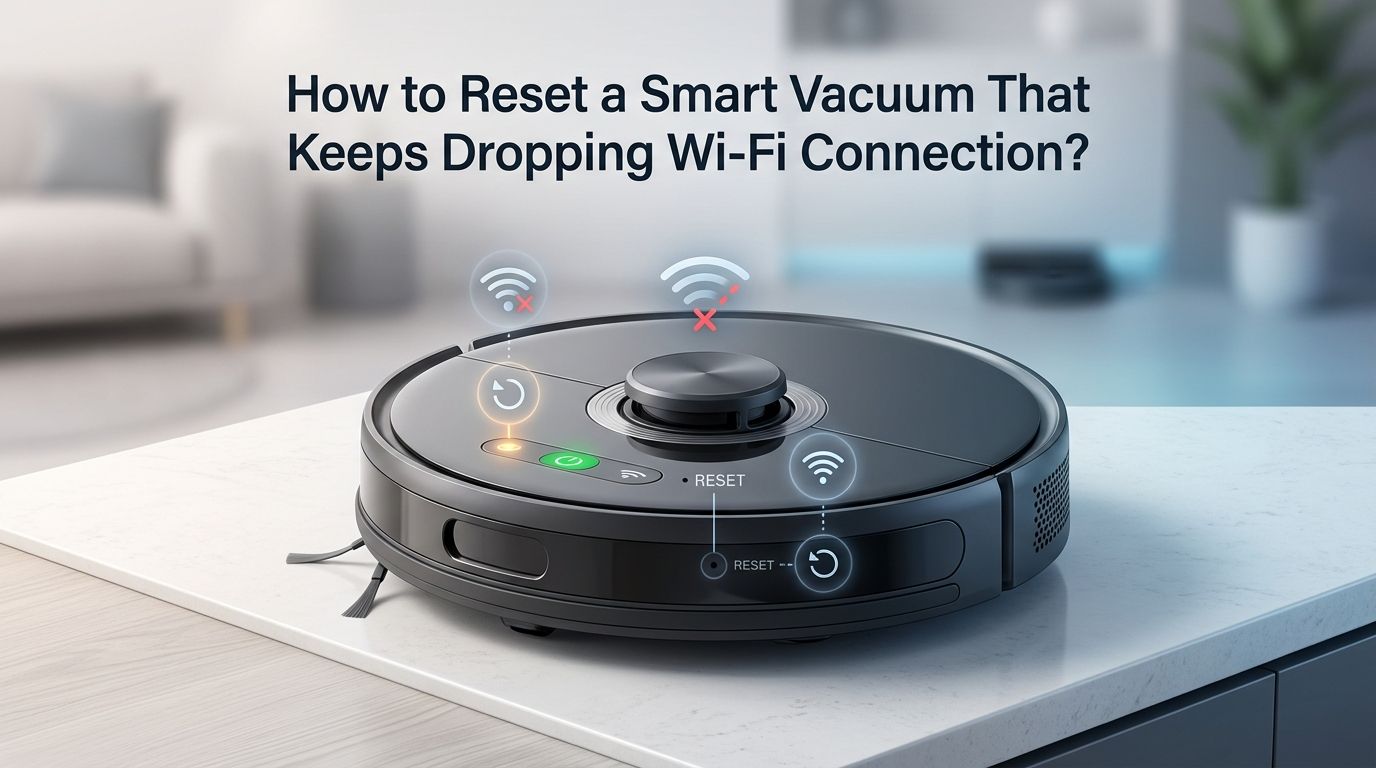
How to Reset a Smart Vacuum That Keeps Dropping Wi-Fi Connection?
You just scheduled a cleaning session from your phone, and your smart vacuum shows “offline” again. It was working fine yesterday.
Now the app cannot find the device, the robot sits idle on the dock, and you are left wondering what went wrong.
This is one of the most common frustrations smart vacuum owners face. A dropped Wi-Fi connection can turn your high tech cleaning assistant into an expensive paperweight.
Key Takeaways
- Most smart vacuums only connect to 2.4GHz Wi-Fi networks. If your router broadcasts a combined 2.4GHz and 5GHz signal under one name, your vacuum may keep jumping to the wrong band and losing connection. Splitting your network into two separate names often solves the problem instantly.
- A simple power cycle fixes the majority of random disconnections. Turn your vacuum off, wait 10 seconds, then turn it back on. This clears temporary software glitches and forces the device to reconnect to your network from scratch.
- Outdated firmware and app versions are hidden culprits. Manufacturers release frequent updates that patch connectivity bugs. Always check your vacuum’s companion app for pending firmware updates before trying more advanced fixes.
- Router placement and signal strength matter more than you think. Your vacuum’s charging dock should sit within strong range of your Wi-Fi router. Thick walls, metal appliances, and long distances weaken the 2.4GHz signal your vacuum depends on.
- A factory reset is the last resort but often the most effective fix. If nothing else works, a full factory reset clears all stored network data and lets you start fresh. You will lose saved maps and schedules, so treat this as your final step.
- Band steering and mesh network handoff settings can cause repeated drops. Disabling band steering on your router prevents it from forcefully pushing your vacuum between frequency bands, which many smart vacuums cannot handle properly.
Why Does Your Smart Vacuum Keep Dropping Wi-Fi
Smart vacuums rely on a constant Wi-Fi connection to receive commands, send status updates, and sync with their companion apps. Several common factors cause these connections to fail repeatedly. Understanding the root cause helps you pick the right fix.
The most frequent reason is a frequency band conflict. Nearly all smart vacuums use the 2.4GHz Wi-Fi band because it offers greater range and better wall penetration. Modern routers often merge 2.4GHz and 5GHz into a single network name. Your vacuum may briefly connect to the 5GHz band, then immediately drop off because it cannot maintain that connection.
Signal interference from other household devices also plays a big role. Microwaves, baby monitors, Bluetooth speakers, and cordless phones all operate near the 2.4GHz frequency. When these devices are active, they crowd the airwaves and push your vacuum offline.
Finally, outdated firmware or a buggy app version can create software level disconnections. The vacuum’s internal Wi-Fi module may also overheat or glitch after extended use, causing temporary drops that resolve after a reboot.
How to Perform a Quick Soft Reset on Your Smart Vacuum
A soft reset is the fastest way to restore a dropped Wi-Fi connection. This process does not erase your saved maps, cleaning schedules, or preferences. It simply restarts the vacuum’s internal systems and forces a fresh network connection.
Start by locating the power button on top of your vacuum. Press and hold it for about 5 seconds until the device powers off completely. Wait at least 10 seconds before turning the vacuum back on. This brief pause allows the Wi-Fi module to fully discharge and clear any temporary errors.
Once the vacuum restarts, open the companion app on your phone. The device should reconnect to your saved network automatically within 30 to 60 seconds. If the status shows “online,” the soft reset worked.
Pros: Takes less than a minute. Preserves all saved data and settings. Works for most random, one time disconnections.
Cons: Does not fix deeper issues like wrong router settings or outdated firmware. The problem may return if the underlying cause is still present.
For iRobot Roomba models, you can also press and hold the Clean button for 20 seconds. Eufy models require a 10 second hold on the start button until you hear a beep or a “reset Wi-Fi” voice alert.
How to Reset the Wi-Fi Connection Without a Factory Reset
Sometimes the vacuum’s stored Wi-Fi credentials become corrupted or outdated. Resetting just the Wi-Fi connection lets you re-enter your network details without wiping the entire device. This is a middle ground between a soft reset and a full factory reset.
Most smart vacuums offer a dedicated Wi-Fi reset option. On many models, you press and hold two buttons at the same time for 3 to 5 seconds. For example, Dreame robots require holding the power and dock buttons together until the robot announces “reset Wi-Fi.” Shark models often use the dock and clean buttons.
After the Wi-Fi reset, open your vacuum’s app. Go to device settings and select “Reconnect Wi-Fi” or “Change Wi-Fi Network.” Follow the on screen pairing instructions. Make sure your phone is connected to the same 2.4GHz network you want the vacuum to use.
Pros: Keeps your saved maps, no go zones, and cleaning history intact. Specifically targets the connection issue without affecting other settings.
Cons: You need to re-enter your Wi-Fi password. Some budget models do not support a Wi-Fi only reset and require a full factory reset instead.
How to Perform a Full Factory Reset
A factory reset erases everything on your smart vacuum and returns it to its original out of the box state. Use this option only after softer fixes have failed. It clears all stored Wi-Fi data, cleaning maps, schedules, and custom settings.
The reset process varies by brand. For iRobot Roomba models, open the lid and press the recessed reset button near the power switch for 10 seconds. For Roborock vacuums, press and hold the dock button and the power button together until you hear a voice confirmation. Wyze vacuums require holding the home button for 5 seconds, releasing, then holding it again for another 5 seconds.
You can also perform a factory reset through the companion app on many models. Open the app, go to your device, select Settings or Advanced Settings, and choose “Factory Reset” or “Restore Default Settings.” Confirm your choice and wait for the process to complete.
Pros: Resolves persistent software bugs, corrupted data, and deep connection failures. Gives the vacuum a completely clean start.
Cons: You lose all saved maps, cleaning schedules, room names, and no go zones. Full setup and re-pairing with the app is required afterward.
Check Your Router’s Frequency Band Settings
This step solves more smart vacuum Wi-Fi problems than almost anything else. Most smart vacuums are designed to work only on the 2.4GHz Wi-Fi band. If your router sends a combined 2.4GHz and 5GHz signal under one network name, your vacuum may repeatedly connect to the wrong band.
Log in to your router’s admin panel. You can usually access it by typing 192.168.0.1 or 192.168.1.1 into your web browser. Look for wireless settings or band settings. If your router uses a single SSID (network name) for both bands, consider splitting them into two separate networks. Name one “HomeWiFi_2.4G” and the other “HomeWiFi_5G,” for example.
Connect your smart vacuum to the 2.4GHz network only. This eliminates the chance of band switching, which is one of the leading causes of repeated disconnections.
Pros: Provides a permanent fix for band related disconnections. Also improves stability for other 2.4GHz smart home devices.
Cons: You now have two visible network names, which can feel cluttered. Some family members may connect to the slower 2.4GHz network by mistake.
Disable Band Steering on Your Router
Band steering is a router feature that automatically pushes devices between the 2.4GHz and 5GHz bands based on signal strength. Smart vacuums handle this poorly because they cannot operate on 5GHz. Each time the router tries to steer the vacuum to 5GHz, the connection drops.
To disable band steering, log in to your router’s admin panel. Look for a setting labeled “Band Steering,” “Smart Connect,” or “AI Steering” under the wireless section. Turn this feature off. Save your changes and restart the router.
Users on Reddit and various forums have confirmed that disabling band steering alone resolved their vacuum’s repeated disconnection issues. This fix is especially important if you use a mesh Wi-Fi system from brands like Asus, TP Link, or Netgear. Mesh systems often use aggressive band steering to optimize device placement across nodes.
Pros: Stops the router from forcefully switching your vacuum’s band. One time fix that prevents future drops.
Cons: Other devices in your home may lose the performance benefit of automatic band switching. You may need to manually connect some devices to 5GHz.
Move Your Charging Dock for Better Signal
Wi-Fi signal strength directly affects your vacuum’s ability to stay connected. The charging dock is where your vacuum spends most of its idle time, so its location matters greatly. A weak signal at the dock means constant disconnections, even if the vacuum works fine during cleaning.
Place the dock within 15 to 20 feet of your Wi-Fi router if possible. Avoid placing it behind large metal objects, inside closets, or near appliances that emit electromagnetic interference like microwaves and refrigerators. Keep the dock in an open area with clear line of sight to the router.
If moving the dock is not practical, consider adding a Wi-Fi range extender or moving a mesh network node closer to the dock. You can test signal strength at the dock location using a free Wi-Fi analyzer app on your phone. Look for a signal reading of at least negative 60 dBm for stable connectivity.
Pros: Simple physical adjustment that costs nothing. Can permanently eliminate signal related drops.
Cons: May require rearranging furniture or choosing a less convenient dock location. The vacuum will remap your home if the dock position changes significantly.
Update Your Vacuum’s Firmware and App
Manufacturers regularly release firmware updates that fix known Wi-Fi bugs and improve connection stability. Running outdated firmware is a common but overlooked cause of repeated disconnections. The companion app also needs to stay current to communicate properly with your vacuum.
Open the vacuum’s companion app on your phone. Go to device settings and look for a section labeled “Firmware Update,” “Software Update,” or “About Device.” If an update is available, download and install it while the vacuum sits on its dock. Do not interrupt the update process or remove the vacuum from the dock.
Also update the app itself through your phone’s app store. Developers frequently patch connection handling, Bluetooth pairing, and cloud syncing in app updates. After updating both the firmware and the app, restart the vacuum and test the connection.
Pros: Fixes manufacturer acknowledged bugs. May add new features alongside stability improvements. Free and easy to do.
Cons: Firmware updates occasionally introduce new bugs. Some users have reported temporary syncing issues right after an update, which usually resolve within a day.
Check for IP Address Conflicts on Your Network
An IP address conflict happens when two devices on your network share the same local IP address. This causes one or both devices to lose connectivity intermittently. If your vacuum drops Wi-Fi at random times, this could be the hidden cause.
Log in to your router’s admin panel and look at the list of connected devices. Check whether your vacuum’s IP address matches any other device. If it does, you can fix this by assigning a static IP address to your vacuum through the router’s DHCP settings.
Another approach is to simply restart your router. This forces it to reassign fresh IP addresses to all connected devices. Unplug the router, wait 30 seconds, then plug it back in. Wait 2 to 3 minutes for the network to fully restart before checking your vacuum’s connection.
Pros: Resolves a sneaky issue that many users never think to check. A static IP assignment provides a permanent fix.
Cons: Requires some familiarity with router settings. Assigning static IPs incorrectly can cause other network problems.
Reduce Wi-Fi Channel Congestion
Wi-Fi channels are like lanes on a highway. If too many devices and neighboring networks use the same channel, your vacuum’s signal gets crowded and dropped. This is especially common in apartment buildings and dense neighborhoods.
Download a free Wi-Fi analyzer app on your phone to see which channels are most congested in your area. Log in to your router’s admin panel and switch the 2.4GHz channel to a less crowded option. Channels 1, 6, and 11 are the only non overlapping channels on the 2.4GHz band, so pick the one with the least traffic.
After changing the channel, restart your router and reconnect your vacuum. You may also need to reconnect other devices that were on the old channel. Test the vacuum’s connection over the next 24 to 48 hours to confirm the issue is resolved.
Pros: Can dramatically improve connection stability in crowded wireless environments. Free to do and takes only a few minutes.
Cons: Channel congestion can shift over time as neighbors change their settings. You may need to readjust occasionally.
Make Sure Your Router’s Security Settings Are Compatible
Some router security protocols are too new or too strict for smart vacuums to handle. Most smart vacuums work best with WPA2 Personal security. Newer protocols like WPA3 can cause connection failures on older or budget vacuum models.
Check your router’s security settings in the admin panel. If it is set to “WPA3 Only,” switch it to “WPA2/WPA3 Mixed Mode” or “WPA2 Personal.” This allows your vacuum to connect while still keeping your network secure for other devices.
Also make sure you have not enabled any MAC address filtering that blocks your vacuum. Some routers have firewall or access control features that silently reject unknown devices. Add your vacuum’s MAC address to the allowed list if filtering is active.
Pros: A one time settings change that can permanently fix authentication related drops. Maintains network security while improving compatibility.
Cons: Downgrading from WPA3 to WPA2 slightly reduces your network’s theoretical security level, though WPA2 remains safe for home use.
When to Contact the Manufacturer for Support
If you have tried every solution above and your vacuum still drops Wi-Fi repeatedly, the issue may be hardware related. A faulty Wi-Fi module inside the vacuum can cause persistent disconnections that no software fix will solve.
Contact the manufacturer’s support team through their app, website, or phone line. Have your vacuum’s model number and serial number ready. Describe the steps you have already taken so the support agent does not repeat basic troubleshooting.
Check your warranty status before calling. Many smart vacuums come with a one to two year warranty that covers hardware defects, including Wi-Fi module failures. If your device is still under warranty, you may receive a free replacement or repair.
Document the issue with screenshots of error messages and a log of disconnection times. This information helps the support team diagnose the problem faster and strengthens your case for a warranty claim.
Frequently Asked Questions
Why does my smart vacuum keep going offline even though other devices stay connected?
Smart vacuums are more sensitive to Wi-Fi issues than phones or laptops because they only support the 2.4GHz band. Other devices can switch to 5GHz when the 2.4GHz signal weakens. Your vacuum cannot do this, so it drops off instead. Router settings like band steering and channel congestion affect it more than devices with dual band support.
Will a factory reset delete my cleaning maps and schedules?
Yes. A full factory reset erases all data on the vacuum, including saved maps, room names, no go zones, and scheduled cleanings. You will need to set up the vacuum as a new device and let it remap your home. Always try a soft reset or Wi-Fi only reset first to preserve your data.
How do I know if my smart vacuum is on the 2.4GHz or 5GHz network?
Check your router’s admin panel and look at the list of connected devices. It usually shows which band each device uses. If your router combines both bands under one name, you cannot easily tell. Splitting the network into separate 2.4GHz and 5GHz names gives you full control over which band each device joins.
Can a Wi-Fi extender help my smart vacuum stay connected?
Yes. A Wi-Fi range extender placed between your router and the vacuum’s charging dock can boost the signal strength. Make sure the extender broadcasts on the 2.4GHz band and uses the same network credentials. Mesh Wi-Fi systems also work well, but disable band steering to prevent connection issues.
How often should I restart my smart vacuum to prevent Wi-Fi drops?
A weekly reboot helps clear minor software glitches and keeps the Wi-Fi module fresh. Simply turn the vacuum off, wait 10 seconds, and turn it back on. You do not need to do a factory reset regularly. Keeping firmware and the companion app updated is more important for long term stability.

Hi, I’m Grace Bell, the founder of CleanFloorVault.com, where I personally test and review vacuum cleaners to help you find the perfect tool for a spotless home.