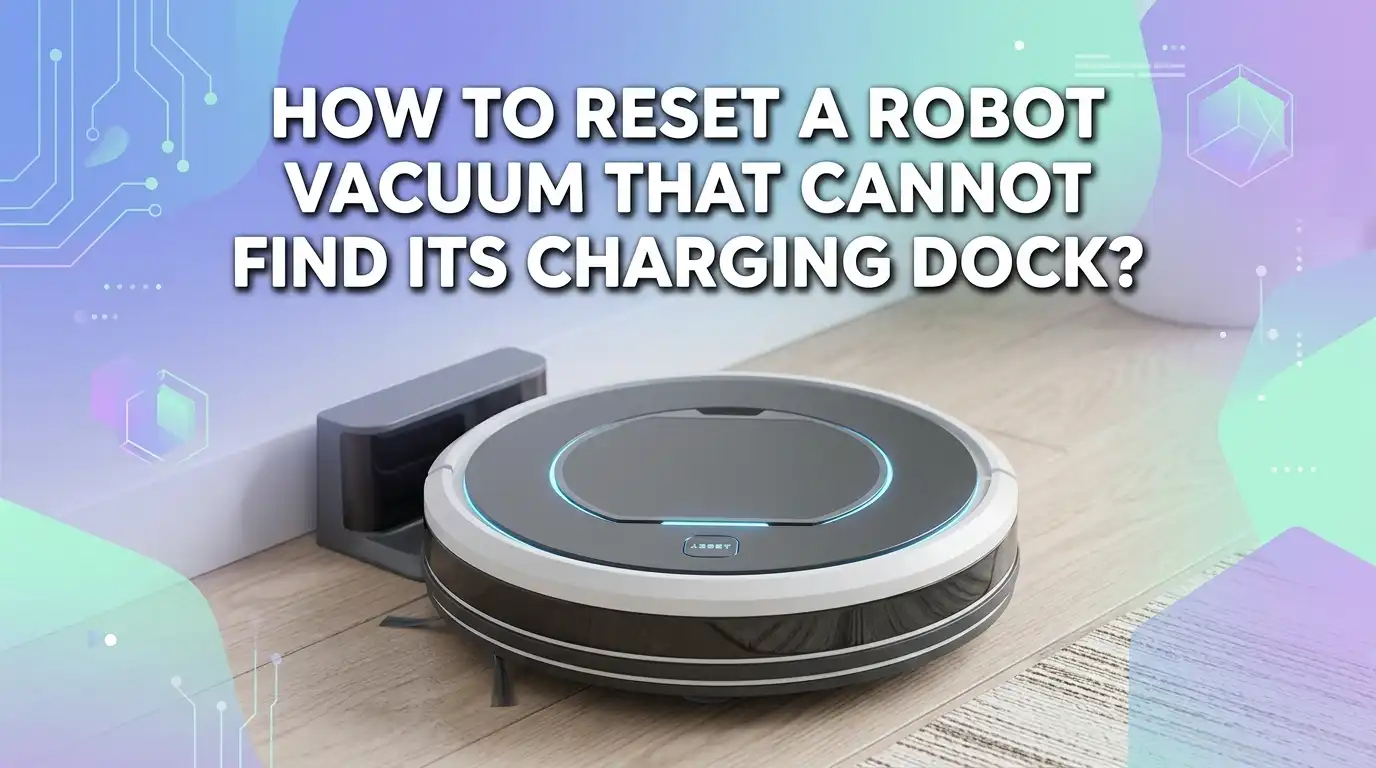
How To Reset A Robot Vacuum That Cannot Find Its Charging Dock?
Your robot vacuum finishes cleaning. It spins around. It wanders. Then it stops in the middle of the floor with a blinking light and a dead battery. Sound familiar?
A robot vacuum that cannot find its charging dock is one of the most common problems owners face. The good news is that you can almost always fix it yourself at home.
This guide walks you through every cause and every solution in plain steps. You will learn how to reset your robot, clean the right parts, fix dock placement, and stop the problem from coming back.
Key Takeaways
- Dirty contacts and sensors cause most docking failures. Wipe the metal charging pins and the front sensors with a dry cloth. This simple fix solves the issue more often than any other.
- A soft reset fixes temporary glitches. Power the robot off, wait 30 seconds, then turn it back on. This clears minor software bugs that confuse the navigation system.
- Dock placement matters a lot. Keep the dock against a flat wall with clear space on both sides and in front. Move it away from stairs, mirrors, and direct sunlight.
- A factory reset is your strong fix for stubborn cases. It erases the saved map and forces the robot to learn your home again. Use it when nothing else works.
- Battery health and firmware updates affect docking. An old battery dies before the robot reaches home. Outdated software can break the dock signal. Keep both in good shape.
- Prevention beats repair. Regular cleaning and a fixed dock spot stop the problem before it starts. A five minute weekly routine saves you hours of frustration.
Why Your Robot Vacuum Cannot Find Its Charging Dock
Your robot finds its dock using small sensors and an infrared signal. The dock sends out an invisible beam. The robot reads that beam and follows it home. When something blocks or weakens that signal, the robot gets lost.
Several things break this process. Dirty sensors cannot read the beam clearly. A moved dock confuses the saved map. Software glitches scramble the navigation data. A weak battery dies before the robot arrives.
Understanding the cause helps you pick the right fix. You do not need to try every solution. Match the symptom to the cause, and you save time. For example, if the robot circles near the dock but cannot land, the problem is usually dirty contacts, not the map. Knowing this points you straight to the answer.
Step One: Try A Simple Soft Reset First
Always start with the easiest fix. A soft reset clears small bugs without erasing your settings. It works surprisingly often. Many docking failures come from a temporary software hiccup, not a hardware fault.
To soft reset, power off the robot using its main switch or power button. Wait 30 seconds. Then turn it back on. Some models reset when you press and hold the power button for about ten seconds. Check your manual for the exact button.
After the reset, place the robot a few feet from the dock. Send it home through the app or the dock button. Watch if it finds its way.
Pros: It is fast, free, and keeps your map and schedule. Cons: It only fixes minor glitches. If the problem is dirt, a bad dock spot, or a dead battery, the soft reset will not help, and you must move to the next step.
Step Two: Clean The Charging Contacts On Robot And Dock
Dirty metal contacts cause more docking and charging failures than anything else. Dust and grime build a thin layer that blocks the connection. The robot may reach the dock but fail to charge, or it may not sense the dock at all.
Find the metal charging pins on the bottom of your robot. Find the matching metal strips on the dock. Unplug the dock first for safety. Then wipe both sets of contacts with a dry or lightly damp cloth.
A clean melamine foam sponge, often sold as a magic eraser, works well for stubborn grime. Let everything dry fully before plugging the dock back in.
Pros: This is cheap, quick, and fixes a huge share of cases. Cons: You must repeat it every few weeks in dusty homes. It will not fix software or placement problems, so clean first, then test before trying harder fixes.
Step Three: Clean The Navigation And Infrared Sensors
Your robot reads the dock signal through small sensors on its front and underside. When these get dirty, the robot goes blind to the dock. This is a top cause of a vacuum that wanders past its home base.
Power the robot off first. Find the infrared and communication sensors on the front bumper. Find the cliff sensors on the bottom. Some models also use a top mounted lidar tower or a front camera.
Wipe each sensor gently with a soft, dry microfiber cloth. Do not use water or harsh cleaners on lenses, since they can scratch or damage the surface.
Pros: Clean sensors restore accurate navigation and often fix docking instantly. The job takes only a few minutes. Cons: Sensors collect dust fast, so you must clean them often. Aggressive wiping can damage delicate lenses, so always use a light touch and a clean cloth.
Step Four: Check And Fix Your Dock Placement
Where you put the dock decides whether your robot can find it. A bad spot makes docking nearly impossible. This step fixes many cases that cleaning alone cannot.
Place the dock flush against a flat wall. Keep clear space of about half a meter on each side and roughly one meter of open floor in front. This gives the robot room to line up and reverse onto the contacts.
Move the dock away from stairs, thick rugs, and tight corners. Avoid direct sunlight, mirrors, and glass, since they confuse the infrared signal. Keep the dock in one fixed spot so the saved map stays accurate.
Pros: Good placement gives a permanent fix and improves overall cleaning. Cons: You may need to rearrange furniture or run a power cord across a room. A new dock location often forces the robot to remap the area, which takes one full cleaning cycle.
Step Five: Inspect The Dock Power And Indicator Light
Sometimes the robot is fine, and the dock is the problem. A dock with no power sends no signal, so the robot has nothing to follow home. This step rules out a dead dock.
Check the dock indicator light. Most docks show a steady light when powered. If the light is off, the dock is not working. Press the power button on the robot while it sits on the dock to confirm.
Test the wall outlet with another device. Try a different outlet. Inspect the power cable for bends, frays, or loose plugs. Reseat both ends of the cable firmly.
Pros: This quickly finds a faulty outlet or loose cable, which is an easy fix. Cons: If the dock itself is broken, you may need a replacement, which costs money. A cracked cable can be a safety risk, so stop using it and replace it right away.
Step Six: Perform A Factory Reset On Your Robot Vacuum
When cleaning and placement fail, a factory reset is your strong solution. It wipes the saved map, schedules, and stored data, then forces the robot to start fresh. This clears deep software faults that block docking.
The exact steps change by brand. Many Roomba models reset when you hold the CLEAN or power button for about 20 seconds. Many Roborock and Eufy models reset through a button under the lid or through the app settings menu.
After the reset, the robot acts like new. You must set it up again, reconnect Wi-Fi, and let it build a new map. Place it on the dock and run a full cycle.
Pros: It fixes stubborn glitches that no other step touches. Cons: You lose your saved map, no go zones, and room labels. Setup and remapping take time, so use this only after simpler fixes fail.
Step Seven: Reset The Map And Let The Robot Remap
A corrupted map is a common hidden cause. The robot thinks the dock sits somewhere it does not, so it searches the wrong area. Resetting just the map fixes this without a full factory reset.
Open the app and find the map settings. Choose the option to delete the current map or reset mapping data. Some models remap automatically after you reboot them on the dock.
Place the robot on the dock first. Then start a full clean. Let it explore the whole home undisturbed. Do not move it during this run, since interruptions break the new map.
Pros: This keeps your Wi-Fi and account settings while fixing the map. It is less drastic than a factory reset. Cons: The first remapping run can be slow and clumsy. The robot may bump into things until it learns the layout again, and it loses any custom zones you set.
Step Eight: Update Or Reinstall The Firmware
Outdated firmware can break the dock signal and the return function. Brands push updates that fix navigation bugs, and skipping them leaves your robot with known faults. This step is easy and often overlooked.
Open the app and go to the device or settings page. Look for a firmware or software update option. Start the update and keep the robot on a powered dock until it finishes. Do not unplug it during the process.
If the robot already runs the latest version, a reinstall of the app on your phone can clear connection bugs.
Pros: Updates fix bugs for free and often improve battery life and docking accuracy. Cons: Updates need a stable Wi-Fi connection and enough battery. A failed update can briefly disrupt the robot, so never interrupt it, and always run updates while the unit charges safely.
Step Nine: Check The Battery Health
A weak battery is a sneaky cause of docking failure. The robot may navigate fine but die before it reaches home. If your vacuum stops short of the dock with a low battery warning, suspect the battery.
Watch how long the robot runs on a full charge. A healthy battery lasts well over an hour in most models. If runtime has dropped sharply over the months, the battery is wearing out.
Make sure the battery is seated firmly in its slot. Clean its contacts too. For older units, a fresh battery often restores full docking behavior.
Pros: A new battery brings back full runtime and reliable returns. The swap is usually simple. Cons: Replacement batteries cost money, and low quality cells can fail fast or overheat. Use a battery made for your exact model, and recycle the old one properly at a drop off point.
Step Ten: Clear Obstacles And Tidy The Path Home
Your robot needs a clear route to the dock. Cables, toys, shoes, and thick rugs block the path and trap the robot far from home. This simple step fixes many returns that fail for no obvious reason.
Walk the route from the main cleaning area to the dock. Remove loose cords, socks, and small objects. Lift or tape down corners of rugs that the robot drags or climbs.
Keep doors open so the robot can pass between rooms. A closed door can lock the robot away from its dock and leave it stranded with a dead battery.
Pros: A clear path improves docking and cleaning at the same time. It costs nothing. Cons: You must stay tidy every day, which takes effort in a busy home. Some obstacles, like a permanent threshold, may need a small ramp or a no go zone set in the app.
Step Eleven: Reset The Wi-Fi And Reconnect The App
App control depends on a steady Wi-Fi link. A broken connection can block the return to dock command and stop status updates. Resetting the network link often restores full control.
In the app, remove the robot from your account. Then add it again as a new device. Follow the pairing steps and connect it to your 2.4 gigahertz Wi-Fi network, which most robot vacuums require.
Place the robot near the router during setup for a strong signal. Reboot your router too if the link stays weak.
Pros: A fresh connection fixes app glitches and restores remote docking commands. It does not erase your map on most models. Cons: You must re enter Wi-Fi details and pair again, which takes a few minutes. Weak home Wi-Fi near the dock can keep causing problems until you move the router or add an extender.
Step Twelve: When To Contact Support Or Seek Repair
Sometimes the fault sits deep inside the hardware. If you tried every step and the robot still cannot dock, the sensor unit, dock board, or charging system may have failed. This is the time to ask for help.
Gather your model number, purchase date, and a list of fixes you tried. Contact the brand support team through their official site or app. Check if your warranty still covers repairs, since many units carry a one or two year warranty.
Describe the exact behavior. Mention error codes and blinking light patterns, since these help the team diagnose fast.
Pros: Support can spot hardware faults and offer free repair or replacement under warranty. Cons: Repairs outside warranty can cost a lot, sometimes close to the price of a new unit. Shipping and wait times add delay, so weigh the cost before you commit.
How To Prevent Docking Problems In The Future
Prevention keeps your robot reliable for years. A short weekly routine stops most docking failures before they start. These habits cost little time and save big headaches.
Wipe the charging contacts and sensors once a week. Keep the dock in one fixed, open spot. Run firmware updates as soon as they appear. Empty the dustbin and clean the brushes often, since a clogged robot works harder and drains the battery faster.
Keep the floor near the dock clear at all times. Replace the battery when runtime drops.
Pros: Regular care extends the life of the robot and keeps docking smooth. It prevents costly repairs. Cons: It needs steady habit and a few minutes each week. Skipping the routine slowly brings the problems back, so set a reminder to stay consistent.
Frequently Asked Questions
Why does my robot vacuum stop right before reaching the dock?
This usually means a weak battery or a blocked path. The robot runs out of power before it lands, or an object stops it near home. Clean the contacts, clear the route, and check the battery runtime to fix it.
How often should I clean my robot vacuum sensors?
Clean the sensors and charging contacts about once a week in a normal home. In dusty homes or homes with pets, clean them more often. Regular cleaning prevents most docking and navigation failures.
Will a factory reset delete my saved map?
Yes. A factory reset erases the map, schedules, and custom zones. The robot must remap your home from scratch. Use this fix only after simpler steps fail, since setup takes time.
Can dock placement really cause docking failures?
Yes. A poorly placed dock is a major cause. Mirrors, sunlight, stairs, and tight spaces confuse the infrared signal. Place the dock against a flat wall with clear space around it for the best results.
My dock light is off. What should I do?
An off light means the dock has no power. Check the wall outlet with another device, try a new outlet, and inspect the cable for damage. Reseat both ends firmly. If the dock stays dark, it may need replacing.
Does firmware affect whether my robot finds the dock?
Yes. Outdated firmware can break the return to dock function. Brands release updates that fix navigation bugs. Open the app, run any available update, and keep the robot on the dock until it finishes.

Hi, I’m Grace Bell, the founder of CleanFloorVault.com, where I personally test and review vacuum cleaners to help you find the perfect tool for a spotless home.