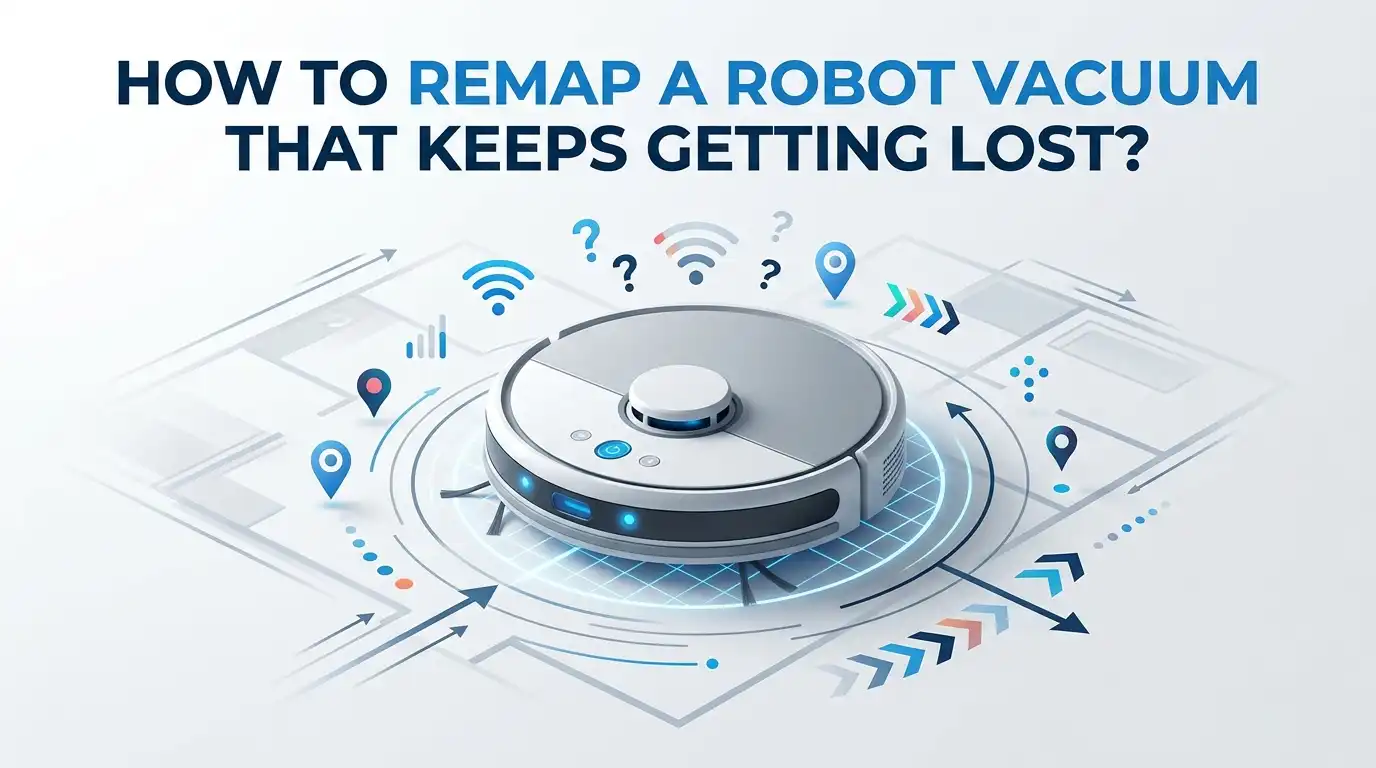
How To Remap A Robot Vacuum That Keeps Getting Lost?
Your robot vacuum used to glide through your home like a pro. Now it spins in circles, bumps into walls, and acts like it has never seen your living room before. Sound familiar?
A lost robot vacuum is one of the most frustrating smart home problems. The good news is that you can fix it yourself. Most navigation troubles come from a confused or corrupted map.
Remapping your robot vacuum often solves the issue in minutes. This guide walks you through every step. You will learn why your robot gets lost, how to clean its sensors, how to delete a bad map, and how to build a fresh one that actually sticks.
In a Nutshell:
- A corrupted or outdated map is the top reason your robot vacuum keeps getting lost. Deleting the old map and creating a new one fixes most cases.
- Dirty sensors confuse navigation. Wipe the LiDAR turret, camera, and cliff sensors with a soft dry cloth before you remap anything.
- Dock placement matters more than people think. Keep the dock against a flat wall with clear space on both sides and in front.
- A full uninterrupted mapping run is essential. The robot only saves a map when it returns to the dock on its own, so let it finish.
- Good lighting and a tidy floor help the robot map correctly. Remove cables, socks, and loose objects before the mapping cycle.
- Firmware updates and a stable WiFi connection keep the saved map working long term. Update the app and router placement when problems repeat.
Why Does Your Robot Vacuum Keep Getting Lost?
Understanding the cause helps you pick the right fix. A robot vacuum builds a map using sensors. When that map breaks, the robot loses its sense of place. It cannot tell where the dock is or which room it sits in.
The most common cause is a corrupted map file. This happens after firmware updates, app glitches, or interrupted cleaning runs. Other triggers include dirty sensors, a moved dock, poor lighting, and weak WiFi.
Sometimes the robot starts adding “new” rooms at strange angles because it thinks the layout changed. Furniture moves and reflective floors also throw off the sensors. Once you spot the trigger, the solution becomes clear. Most of the time, a clean remap brings everything back to normal.
Clean The Sensors Before You Remap Anything
Never remap a dirty robot. Sensors covered in dust send wrong data to the navigation system. The robot then builds a map full of errors. Cleaning the sensors is the cheapest and fastest first step.
Turn off the robot and flip it over. Use a soft, dry, lint free cloth. Wipe the cliff sensors on the bottom, the camera lens, and the wall sensors on the side. For LiDAR models, gently clean the spinning turret on top.
Check that the LiDAR turret spins freely. Press the clean button and watch it. If it does not turn, hair or debris may be stuck inside. A blocked turret is a major cause of a lost robot. A clean sensor set often fixes navigation without any remapping at all.
Pros: Free, fast, and solves many issues instantly. Cons: It will not help if the map itself is already corrupted.
Check And Reset Your WiFi Connection First
Your robot vacuum often relies on WiFi to load and update its map. A weak or dropped connection can make the robot lose its location data. This is easy to overlook because the robot still moves around.
Open your app and check the connection status. If it shows offline or keeps disconnecting, the map sync fails. Move your router closer or add a mesh point near the cleaning area. Most robots work best on a 2.4GHz network rather than 5GHz.
Restart your router and reconnect the robot to the app. Also check that your phone gave the app local network permission. Without it, the app cannot sync the saved map after updates. A stable connection keeps your fresh map safe and prevents the robot from getting lost again.
Pros: Solves sync errors and missing map problems. Cons: Requires good home network coverage, which not everyone has.
How To Delete The Old Corrupted Map
When the map is broken, no fix works until you remove it. Deleting the old map gives your robot a clean start. Every brand handles this through its app, and the steps look similar across models.
Open your robot vacuum app. Tap the map icon or the three dots menu in the top corner. Look for “Map list,” “Map management,” or “Reset map.” Select the bad map and choose delete.
Confirm the deletion when the app asks. The robot now has no saved layout in memory. Some brands like iRobot, Roborock, Xiaomi, Eufy, and Ecovacs let you store several maps, so delete only the broken one. Keep good maps for other floors safe. Once the old map is gone, you are ready to build a fresh, accurate one.
Pros: Removes corrupted data completely. Cons: You lose your saved no go zones and room labels, which you must set again.
Prepare Your Home For A Clean Mapping Run
A successful remap starts with a tidy floor. The robot maps what it sees, so clutter creates a messy map. Spend a few minutes preparing the space before you press start.
Pick up loose cables, charging cords, socks, shoes, and small toys. These items trap the robot and break the mapping run. Open all interior doors so the robot can reach every room you want mapped.
Turn on the lights, especially for camera based robots. Low light makes the camera misread the layout. For LiDAR models, lighting matters less, but a clear path still helps.
Close doors to rooms you do not want included. A clean, open, well lit space lets the robot build a complete and accurate map on the first try.
Pros: Produces a clean map with fewer errors. Cons: Takes a little prep time before each fresh mapping run.
Place The Dock In The Right Spot
The dock is the anchor point for your entire map. If the dock sits in a bad spot, the robot struggles to find its way home. Correct placement prevents many “lost” errors before they start.
Put the dock against a flat, solid wall. Leave about 1.5 feet of clear space on both sides and around 3 feet in front. Avoid corners, tight nooks, and spots behind furniture.
Keep the dock away from mirrors, dark rugs, and direct sunlight. Reflective and shiny surfaces confuse the sensors. Place it on a hard floor rather than thick carpet when possible.
Never move the dock during the mapping run. A stable, well placed dock gives the robot a strong reference point and helps it relocate itself every single time.
Pros: Improves docking success and map stability. Cons: You may need to rearrange furniture or find a new outlet.
Run A Dedicated Mapping Cycle Step By Step
Now you build the new map. Many robots offer a quick map mode that scans your home without deep cleaning. This is faster and creates a cleaner layout. Check your app for a “mapping run” or “explore” option.
Place the robot on the dock and make sure it is fully charged. A low battery stops the run before it finishes. Start the mapping cycle from the app, not by tapping the robot.
Do not touch or pick up the robot while it maps. Let it move freely through every open room. The robot scans walls, doorways, and obstacles as it travels.
The map saves only when the robot returns to the dock on its own. If it stops early, the map may not save. Patience here gives you a reliable map.
Pros: Builds a fresh, accurate map quickly. Cons: The run takes time, and interruptions force you to restart.
What To Do If The Robot Still Gets Lost Mid Run
Sometimes the robot loses itself even during mapping. This usually points to a deeper sensor or environment problem. Do not panic. A few targeted checks often solve it.
First, watch where it gets stuck. If it always fails near stairs, shiny floors, or dark rugs, the cliff sensors are reacting to those surfaces. Cover reflective areas with a light mat during mapping.
Restart the robot fully by powering it off for 15 seconds, then on again. This clears temporary glitches in its memory. Try starting the run from a different room than usual.
Splitting one large open area into smaller sections also helps the robot orient itself. If the LiDAR or camera is faulty, the robot may need professional repair. But most mid run failures trace back to sensors or surfaces.
Pros: Pinpoints the exact trouble spot. Cons: Trial and error can take several attempts.
Update The Firmware And App
Outdated software causes navigation bugs. Manufacturers release firmware updates to fix map saving errors and improve stability. Running old firmware keeps those bugs alive. Always check for updates before and after remapping.
Open the app and look in the settings or device info section. Tap “firmware update” if one is available. Keep the robot on the dock with strong WiFi while it updates. Never turn it off during the process.
Also update the app itself from your phone’s app store. An old app version can fail to sync the new map. Note that some updates briefly cause map shift issues. If a new update breaks navigation, you can usually report it or wait for a patch. Most of the time, updated software makes your robot smarter and steadier on its path.
Pros: Fixes known bugs and adds features. Cons: A bad update can sometimes cause new navigation glitches.
Set No Go Zones And Virtual Walls After Remapping
Once your new map works, protect it from future trouble. No go zones and virtual walls keep the robot away from danger spots. This stops it from getting stuck and losing its place.
In the app, tap the map and select “add no go zone” or “virtual wall.” Draw boxes around stair edges, pet bowls, cable clusters, and clutter prone corners.
Use a virtual wall for a straight line you do not want crossed, like a balcony door. Use a no go zone to block a whole area. These boundaries reduce rescue trips and keep the robot on track.
Setting them right after remapping saves you frustration later. A well defined map with smart boundaries is far less likely to confuse your robot vacuum.
Pros: Prevents stuck robots and protects fragile areas. Cons: You must redraw them every time you delete and rebuild the map.
Handle Multiple Floors The Right Way
Multi floor homes create extra confusion. Some robots store several maps, while basic models save only one. Knowing your robot’s limit prevents endless “lost” errors when you carry it between levels.
If your robot supports multiple maps, map each floor separately. For the best result, move both the robot and the dock to the new level during mapping. The dock acts as the anchor for each map.
Check your app’s map list to confirm both floors saved correctly. Label them clearly, like “upstairs” and “downstairs.” If your robot only stores one map, you must remap every time you switch floors, which is slow.
In that case, a model with multi map memory is worth considering for the future. Matching your routine to the robot’s ability solves the floor problem.
Pros: Clean cleaning on every level. Cons: Single map robots force a full remap with each floor change.
Reset The Robot To Factory Settings As A Last Resort
When nothing else works, a full reset clears every glitch. A factory reset wipes all maps, schedules, and settings. Treat this as the final option because you start completely fresh.
Find the reset option in your app settings, or hold the physical buttons your manual lists. Each brand uses a different button combination, so check your guide. Confirm the reset and let the robot restart.
After the reset, reconnect the robot to WiFi and your app. Then run a brand new mapping cycle from scratch. You will need to set all no go zones, schedules, and room names again.
This step fixes deep software corruption that simple remapping cannot. If even a factory reset fails, the hardware may be faulty and need service or replacement.
Pros: Clears every software fault completely. Cons: You lose all saved data and must set everything up again.
Habits That Keep Your Map Accurate Long Term
A good map needs care to stay good. Small habits prevent your robot from getting lost again. Build these into your routine and you will rarely touch the remap button.
Clean the sensors every week or two with a dry cloth. Empty the bin and clear hair from the brushes and wheels often. A clean robot reads its surroundings correctly.
Keep the dock in the same spot and avoid moving furniture too often. Big layout changes confuse the saved map. Let the robot finish each run so it can update its map naturally.
Keep firmware current and WiFi strong. Run an occasional mapping run if you rearrange a room. These simple steps protect your map and keep your robot vacuum confident and reliable for years.
Pros: Long term reliability and fewer errors. Cons: Requires light, regular maintenance from you.
Frequently Asked Questions
Why does my robot vacuum suddenly forget its map?
Your robot usually forgets its map after a firmware update, an app glitch, or an interrupted cleaning run. Dirty sensors and weak WiFi also cause this. The robot then cannot match what it sees to its saved map. Deleting the old map and building a fresh one fixes the problem in most cases.
How long does it take to remap a robot vacuum?
A full mapping run usually takes 10 to 30 minutes, depending on your home size. Quick map modes finish faster than a full cleaning run. Larger or cluttered homes take longer. Make sure the robot is charged and the floor is clear so it finishes in one go without stopping.
Do I need to delete the old map before making a new one?
Yes, if the old map is corrupted. A broken map blocks the robot from building an accurate new one. Open your app, find the map management section, and delete the faulty map. Then run a fresh mapping cycle. Keep any working maps for other floors so you do not lose them.
Why does my robot vacuum get stuck in the same spot every time?
It usually reacts to a tricky surface or obstacle there. Shiny floors, dark rugs, stair edges, and loose cables confuse the sensors. Clean the area, add a no go zone, or cover reflective surfaces. Restarting the robot and remapping that section often clears the repeated stuck behavior.
Can dirty sensors really make my robot vacuum lost?
Absolutely. Dust on the LiDAR turret, camera, or cliff sensors sends wrong data to the navigation system. The robot then misreads your home and gets lost. Wipe all sensors with a soft dry cloth regularly. Make sure the LiDAR turret spins freely. Clean sensors are often the single fastest fix.
Will a factory reset fix my robot vacuum navigation?
A factory reset fixes deep software problems that simple remapping cannot. It wipes every map, schedule, and setting, giving a clean start. Use it only as a last resort. After the reset, reconnect to WiFi and build a new map. If navigation still fails, the hardware may need repair.

Hi, I’m Grace Bell, the founder of CleanFloorVault.com, where I personally test and review vacuum cleaners to help you find the perfect tool for a spotless home.