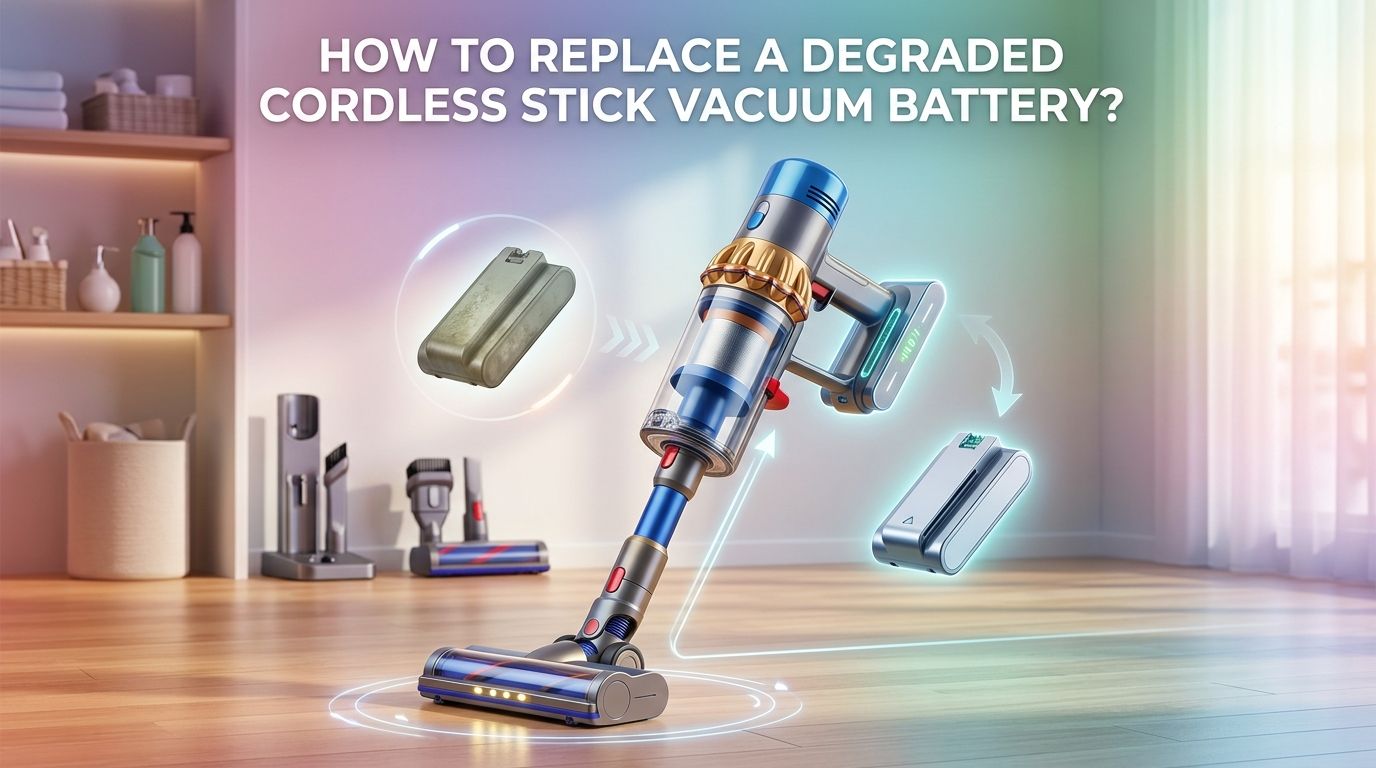
How To Replace a Degraded Cordless Stick Vacuum Battery?
Your cordless stick vacuum used to clean an entire room on a single charge. Now it dies in five minutes flat. Sound familiar? A degraded battery is one of the most common reasons a premium cordless vacuum loses its power and runtime.
The good news is you do not need to buy a brand new vacuum. In most cases, you can replace the battery yourself at home with just a screwdriver and a few minutes of your time.
This guide walks you through every step of the battery replacement process. You will learn how to spot the warning signs of a failing battery, choose the right replacement, safely remove the old one, and install the new pack.
In a Nutshell
- Most cordless vacuum batteries last between two and four years with regular use before they start losing significant capacity. Lithium ion cells naturally degrade over hundreds of charge cycles. Once your vacuum runs for less than half its original runtime, a replacement battery is the most cost effective fix.
- You can usually replace a cordless vacuum battery at home in under 15 minutes. The process involves removing a few screws or pressing release clips, sliding out the old battery, and clicking in a new one. No special technical skills are needed for the majority of models from major brands.
- OEM (original equipment manufacturer) batteries offer the best safety and compatibility, but they cost two to three times more than third party alternatives. Quality third party batteries can work well, but you should verify they carry safety certifications like UL or CE before purchasing.
- Never throw a lithium ion battery in household trash. Old vacuum batteries must be taken to a dedicated recycling drop off point. Retailers like Best Buy, Lowe’s, and Home Depot often accept them for free. Improper disposal can cause fires and environmental harm.
- Proper charging habits extend your new battery’s lifespan significantly. Avoid storing your vacuum at 0% or 100% charge for extended periods. Keep it in a cool, dry location, and let the vacuum cool down after heavy use before plugging it in.
- Always disconnect the vacuum from its charger before starting any battery work. Lithium ion batteries carry real safety risks if mishandled. Wear gloves, work on a dry surface, and never use a battery that appears swollen, cracked, or leaking.
Signs Your Cordless Vacuum Battery Needs Replacing
The most obvious symptom is a dramatic drop in runtime. If your vacuum originally ran for 30 to 60 minutes and now dies after 5 to 10 minutes, the battery cells have lost a large portion of their capacity. This happens gradually over hundreds of charge cycles.
Another clear sign is pulsing or intermittent power. The motor starts and stops repeatedly during use. This means the battery can no longer deliver consistent voltage to the motor. A flashing red light on the vacuum’s handle or body is another indicator. Many Dyson models, for example, flash a red LED 12 or more times to signal a battery fault.
Longer charging times combined with shorter runtime also point to cell degradation. If you notice the vacuum getting unusually warm during charging, that is a warning sign too. Swelling or physical deformation of the battery pack is a serious red flag that demands immediate removal and safe disposal.
Tools and Supplies You Will Need
Battery replacement on most cordless stick vacuums requires very few tools. A Phillips head screwdriver is the most common requirement. Some models, particularly older Dyson V6 and V7 units, need a small Torx (star shaped) screwdriver instead.
You will also need a compatible replacement battery pack that matches your vacuum’s exact model number. Keep a clean cloth handy to wipe down the battery compartment. A pair of work gloves is a smart safety precaution since lithium ion batteries can be hazardous if damaged.
A flat, dry workspace with good lighting makes the job easier. Some people find it helpful to place screws on a small magnetic tray so they do not roll away. You do not need any soldering equipment or electrical knowledge for standard battery pack replacements, since these units are designed to be swapped as complete modules.
How to Find the Right Replacement Battery
Start by checking your vacuum’s exact model number. This is usually printed on a label on the body of the vacuum, near the motor housing or on the charging dock. Write it down before you search for a battery.
Visit the manufacturer’s official website or support page. Brands like Dyson, LG, Shark, and Samsung list compatible batteries for each model. Match the voltage (V) and amp hour (Ah) ratings to your original battery. Using a battery with the wrong voltage can damage your vacuum’s motor or circuitry.
If you choose a third party battery, look for one with UL, CE, or RoHS safety certifications. Read reviews from verified buyers who own the same vacuum model. Avoid batteries that claim vastly higher capacity than the original at a very low price. These often exaggerate their specs and may lack proper safety circuits.
OEM vs. Third Party Batteries
This is one of the biggest decisions you will face during the replacement process. Both options have clear strengths and weaknesses that are worth understanding before you spend your money.
OEM batteries come directly from or are licensed by the vacuum manufacturer. They are built with the exact specifications and safety standards your vacuum was designed for. They typically last 500 to 1,000 charge cycles. They also come with a manufacturer warranty. The downside is cost. An OEM Dyson battery, for example, can cost $70 to $100 or more.
Third party batteries are significantly cheaper, often $20 to $40. Many perform well and deliver comparable runtime to the original. However, the failure rate for generic no name batteries can be 5% to 10%, compared to less than 1% for OEM packs. Some third party batteries lack conformal coating on their circuit boards, which leaves them vulnerable to dust and moisture damage. If you go this route, stick to reputable third party brands with verified safety certifications.
Step by Step: Removing the Old Battery
Step one: Disconnect your vacuum from its charger. Make sure the vacuum is powered off completely.
Step two: Identify the battery location. On most stick vacuums, the battery sits near the handle or at the base of the main body. Check your owner’s manual or look for visible screws or release clips.
Step three: Remove the screws. Most models use two to four Phillips or Torx screws to secure the battery pack. Place these screws somewhere safe.
Step four: Slide the battery pack out of its compartment. Some models like the LG CordZero A9 use a click and release latch system that requires no screws at all. You simply press a release button and pull the battery free. On Dyson V10 and V11 models, you press tabs and slide the battery downward off the main body.
Step five: Inspect the battery compartment. Wipe away any dust or debris with a clean, dry cloth before installing the new pack.
Step by Step: Installing the New Battery
Step one: Unbox your new battery and inspect it for any physical damage. Do not install a battery that has dents, cracks, or any signs of swelling.
Step two: Align the new battery pack with the compartment. Match the electrical contacts and guide rails precisely. The battery should slide in smoothly without force. If it does not fit, double check you have the correct model.
Step three: Secure the battery with the original screws. Tighten them firmly but do not over tighten, as this can crack plastic housings. For clip style systems, press the battery in until you hear a clear click confirming it is locked in place.
Step four: Connect the vacuum to its charger and allow a full initial charge. This first full charge helps calibrate the battery management system. Most manufacturers recommend three to five hours for the initial charge depending on the model.
Step five: Test the vacuum on a low power setting first. Confirm it runs smoothly and holds suction before switching to higher power modes.
Safety Precautions During Battery Replacement
Lithium ion batteries store a significant amount of energy and require careful handling. Never puncture, bend, or crush a battery pack. Physical damage to lithium ion cells can cause thermal runaway, which means the battery overheats rapidly and can catch fire.
Work on a dry, non flammable surface away from direct sunlight and heat sources. Remove any metallic jewelry from your hands and wrists before handling the battery. Metal objects that bridge the battery terminals can cause a short circuit.
If you notice a battery that is swollen, leaking fluid, or emitting a strange odor, do not attempt to install or charge it. Place it in a fireproof container or on a concrete surface away from anything flammable. Contact your local waste management authority for disposal guidance. These situations are rare but serious, so it pays to be alert.
How to Properly Dispose of the Old Battery
You must never throw a lithium ion battery into household trash or curbside recycling bins. These batteries can ignite in garbage trucks and recycling facilities, causing dangerous fires. The U.S. EPA advises taking lithium ion batteries to separate recycling or household hazardous waste collection points.
Before disposal, tape over the battery terminals with non conductive tape such as electrical tape or clear packing tape. This prevents accidental short circuits during transport and storage. Place the taped battery in a plastic bag by itself, separate from other batteries.
Many major retailers accept used lithium ion batteries for free recycling. Best Buy, Lowe’s, Home Depot, Staples, and Batteries Plus all have collection programs in the United States. You can also use the Call2Recycle locator tool online to find a drop off point near you. Some vacuum manufacturers also accept old batteries through mail back programs.
Troubleshooting After Battery Installation
Sometimes a new battery does not work perfectly right away. If your vacuum does not power on after installing the new battery, first confirm the battery is fully charged. Some batteries arrive with very low charge levels and will not power a device until they have been plugged in.
Check that the battery contacts are clean and properly aligned. A small amount of dust or misalignment can prevent a solid electrical connection. Remove the battery, inspect the contacts, and reinstall it carefully.
If the vacuum flashes an error light after installation, consult the owner’s manual for the specific flash pattern meaning. Some models require a firmware update or a reset procedure after a battery swap. On certain Dyson models, you may need to hold the trigger for 10 seconds to reset the system.
A brand new battery that fails immediately or swells during the first charge should be returned to the seller right away. This indicates a defective unit, and continuing to use it is a safety risk.
Tips to Extend Your New Battery’s Lifespan
Your new battery will last much longer if you adopt a few simple habits. Use the standard or auto power mode for everyday cleaning. High power and boost modes drain the battery much faster and generate more heat, which accelerates cell degradation over time.
Avoid leaving the vacuum on the charger indefinitely. While most modern lithium ion batteries have overcharge protection, keeping them at 100% for weeks on end still causes gradual wear. Charge the vacuum before you plan to use it, and unplug it once charging is complete.
Store your vacuum in a cool, dry place away from direct sunlight and extreme temperatures. Heat is the number one enemy of lithium ion battery health. Let the vacuum cool down after a long cleaning session before plugging it in. Cleaning your filters regularly also protects the battery indirectly, because a clogged filter forces the motor to work harder, which draws more power and generates more heat.
When to Consider Professional Help Instead
Most battery replacements are simple enough for anyone to handle at home. However, there are a few situations where professional service makes more sense. If your vacuum is still under warranty, doing the replacement yourself could void that warranty. Contact the manufacturer first to check.
If the battery compartment has corroded contacts, damaged wiring, or a cracked housing, the problem goes beyond a simple battery swap. A repair technician can assess whether other components need attention. Some newer premium models have batteries that are partially integrated into the vacuum’s body and require partial disassembly of the motor housing. These models are best handled by authorized service centers.
Professional repair also makes sense if your vacuum exhibits problems beyond short runtime, such as unusual noises, burning smells, or complete failure to charge. These symptoms may indicate a motor or circuit board issue rather than a battery problem alone.
Is a Battery Replacement Worth the Cost?
In most cases, yes, absolutely. A replacement battery costs between $20 and $100 depending on the brand and whether you choose OEM or third party. A new premium cordless stick vacuum costs $300 to $800 or more. Replacing the battery gives you what feels like a brand new machine at a fraction of the price.
The environmental benefit is also significant. Sending a fully functional vacuum to a landfill because of one worn out component creates unnecessary electronic waste. A simple battery swap keeps the rest of the machine in service for several more years.
The main exception is if your vacuum is already very old and has other worn out components like a dying motor, broken clips, or cracked housing. In that case, the cost of a battery plus potential future repairs may approach the price of a new unit. But for vacuums that are two to five years old and otherwise in good condition, a battery replacement is almost always the smart financial and environmental choice.
Frequently Asked Questions
How long does a cordless vacuum battery typically last?
Most lithium ion batteries in cordless stick vacuums last two to four years with regular use, which translates to roughly 200 to 500 full charge cycles. Runtime gradually decreases as the cells degrade. Proper charging habits and storage conditions can push battery life closer to the four year mark.
Can I use a higher capacity battery than the original?
You can use a battery with a slightly higher amp hour (Ah) rating as long as the voltage matches your vacuum’s specifications. A higher capacity battery will give you longer runtime per charge. However, do not use a battery with a different voltage, as this can damage the motor and control board.
How do I know if my vacuum needs a new battery or a new motor?
A dying battery causes short runtime and gradual power loss. A failing motor typically produces loud grinding or whining noises, overheating, and may emit a burning smell. If your vacuum dies quickly but sounds normal while running, the battery is almost certainly the issue.
Is it safe to use third party batteries in my vacuum?
Quality third party batteries with proper safety certifications (UL, CE, RoHS) are generally safe to use. The key risks come from unbranded, uncertified batteries that may lack proper protection circuits. Always purchase from a reputable seller and check that the battery has visible certification marks.
Can I repair a degraded battery pack instead of replacing it?
Some experienced DIY enthusiasts replace individual 18650 cells inside a battery pack. However, this requires soldering skills, voltage balancing knowledge, and proper safety equipment. For most people, buying a complete replacement pack is far safer and more practical. Incorrect cell replacement can create fire and explosion risks.
Where is the cheapest place to buy a replacement battery?
Prices vary by brand and model. OEM batteries are usually cheapest on the manufacturer’s own website or at authorized retailers. Third party batteries are widely available from electronics retailers and online marketplaces. Compare prices across multiple sellers but prioritize safety certifications over the lowest possible price.

Hi, I’m Grace Bell, the founder of CleanFloorVault.com, where I personally test and review vacuum cleaners to help you find the perfect tool for a spotless home.