How To Lubricate Squeaky Bearings In A Vacuum Brush Roll?
That high pitched squeal from your vacuum is hard to ignore. It follows you across every room. The sound usually starts small. Then it grows louder with each cleaning session.
Most of the time, the noise comes from dry or dirty bearings inside the brush roll. The good news is simple. You can fix this problem at home in under an hour. You do not need to call a repair shop. You do not need expensive tools either.
This guide walks you through every step. You will learn how to open the brush roll, clean the bearings, pick the right lubricant, and stop the squeak for good. Let us bring back that quiet, smooth glide your vacuum once had.
In a Nutshell
- A squeaky brush roll almost always means dry, dirty, or worn bearings. Hair and dust wrap around the bearing area and create friction. Cleaning comes first, then lubrication.
- Silicone based lubricant is the top choice for most vacuum bearings. It does not attract dirt like oil or grease. Avoid WD40 as a long term fix because it dries out fast and gums up.
- Always unplug your vacuum before you start. This is the single most important safety rule. A spinning brush roll can injure your hands quickly.
- Dry lubricants like PTFE or graphite work great in dusty conditions. They leave a slick coating without sticky residue. These suit homes with pets or heavy dust.
- If the squeak returns after cleaning and oiling, the bearing is likely worn out. A replacement bearing is cheap and fixes the issue completely. Lubricant only delays the problem on a damaged bearing.
- Regular cleaning prevents most future squeaks. Clearing hair every few weeks keeps bearings happy. Prevention beats repair every single time.
What Causes A Vacuum Brush Roll To Squeak
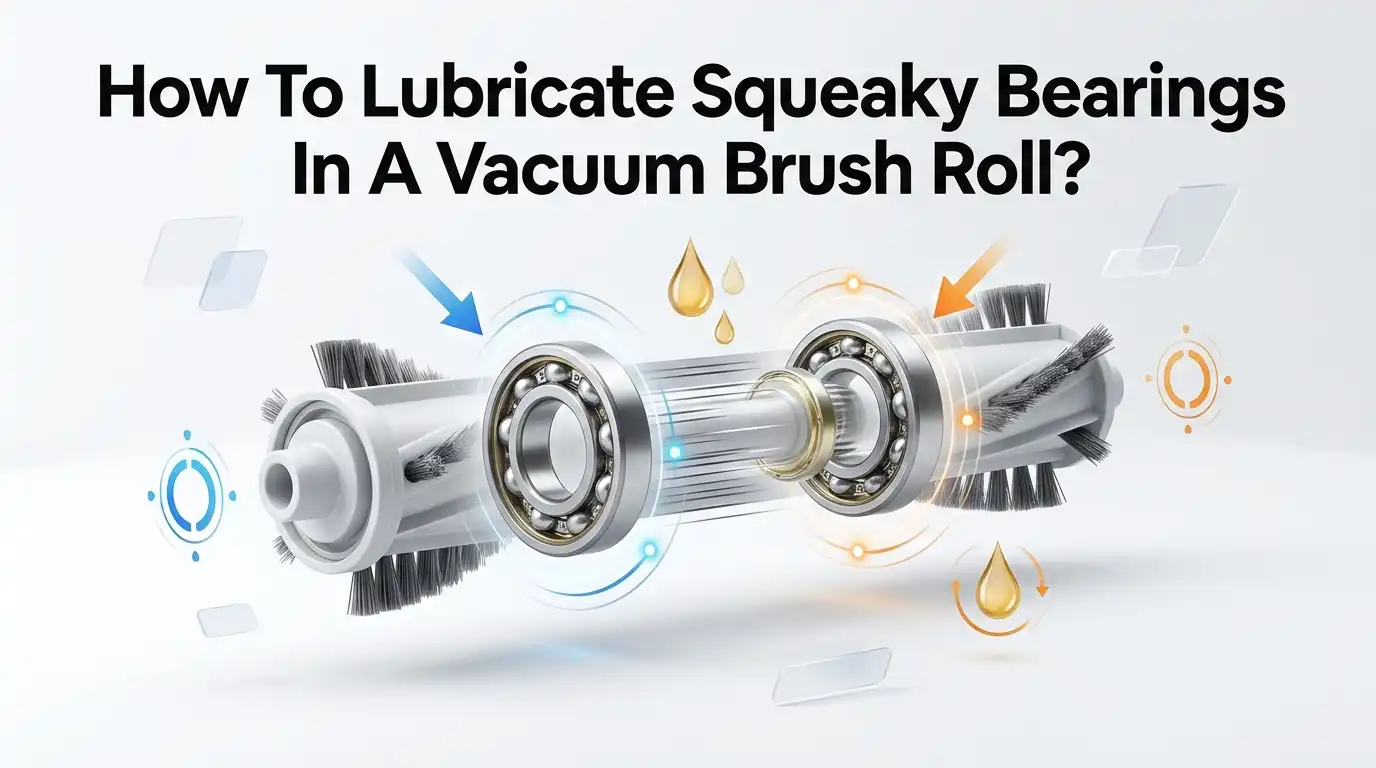
The brush roll spins thousands of times each minute. It sits on small bearings or bushings at each end. These parts let the roll turn smoothly. Over time, dust, hair, and fine grit work their way into the bearing area.
This buildup creates friction. Friction makes that sharp squeaking sound you hear. Dry bearings are another common cause. The factory lubricant wears away after months of use. Without lubricant, metal rubs against metal or plastic.
Heat builds up next, which makes the noise worse. Sometimes the bearing itself starts to fail. A worn bearing squeaks even when clean. Knowing the cause helps you pick the right fix. Most squeaks trace back to dirt or dryness, both easy to solve.
Tools And Supplies You Will Need
Gather everything before you begin. This saves trips back and forth. You will need a Phillips head screwdriver and sometimes a Torx screwdriver for newer models. Keep a pair of scissors or a seam ripper handy for cutting hair.
A small flathead screwdriver helps pop off end caps. Grab a clean cloth and some cotton swabs for wiping parts. You also need your chosen lubricant, which we cover later. A pair of gloves protects your hands from grime.
Some people like to use compressed air to blow out dust. A small bowl holds tiny screws so they do not roll away. Good lighting matters more than people think. A flashlight or headlamp lets you see deep into the bearing housing clearly.
Safety First: Unplug And Prepare Your Vacuum
Never skip this step. Always unplug your vacuum from the wall before you touch the brush roll. A cordless model needs its battery removed too. The brush roll can spin without warning if power stays on.
This causes painful cuts and pinched fingers. Clear a flat work surface like a table or floor. Lay down an old towel to catch dust and protect your floor. Turn the vacuum upside down so the brush roll faces you. Make sure the area has bright light.
Keep children and pets away while you work. Take a photo with your phone before you remove anything. This photo guides you when you put parts back together. A few minutes of prep prevents frustration later. Safety always comes before speed.
Step By Step: How To Access The Brush Roll
Flip your vacuum over to reach the bottom plate. Most vacuums have a base plate held by four to ten screws. Remove each screw with your screwdriver and store them in your bowl. Lift the plate off slowly.
Some plates have clips, so wiggle them free with care. Once the plate is off, you will see the brush roll sitting in its housing. The belt wraps around one end of the roll. Note how the belt sits before you touch it.
Gently lift the brush roll out of its slots. On stick vacuums, the roll often pops out through a side door. Pull the roll straight out to avoid bending the holders. Set the roll on your towel. Now you can inspect both ends closely.
Cleaning The Brush Roll Before You Lubricate
Cleaning comes before any lubricant. A dirty bearing will squeak again even after you oil it. Start by cutting away hair wrapped around the roll. A seam ripper slices through tangles fast. Pull the loose hair off with your fingers.
Pay close attention to the end caps where the bearings live. Hair packs tightly into these spots. Twist or pop off the end caps if your model allows it. Use cotton swabs to clean the bearing area.
Wipe out old grease, dust, and grit. Compressed air blows out the deep debris you cannot reach. Let the parts dry fully if you used any cleaner. A clean bearing accepts lubricant much better. This step alone fixes many squeaks before you even add oil.
Pros of thorough cleaning: It often solves the squeak without any lubricant. It extends the life of your bearings. It improves overall suction and brush spin.
Cons: It takes extra time and patience. Tightly packed hair can be hard to remove fully.
Choosing The Right Lubricant For Vacuum Bearings
Your lubricant choice makes a big difference. Silicone based lubricant is the favorite among repair experts. It lubricates well and resists dirt buildup. Silicone does not gum up like petroleum oils do.
Dry lubricants like PTFE or graphite are another smart option. They leave a slick, dry film that dust will not stick to. These work great in homes with pets or heavy dust. Lithium grease lasts a long time but can attract grime over time.
Avoid using WD40 as your main lubricant. It works for a minute but dries out and glues parts together later. Each lubricant has a place. Match your choice to your home and your vacuum type. The right pick keeps the squeak away for months.
How To Apply Lubricant To The Bearings Properly
Less is more with lubricant. A small amount does the job better than a big glob. Too much lubricant drips out and attracts dust. Apply your chosen product right at the bearing surface. Use a cotton swab to spread silicone or grease evenly.
For spray lubricants, hold the nozzle close and give a short burst. Wipe away any excess that pools around the area. Spin the brush roll by hand a few times. This action works the lubricant deep into the bearing.
Listen for the squeak to fade as you spin. Add a touch more only if needed. Let dry lubricants set for a minute before reassembly. Proper application means a quiet roll and a clean housing.
Pros of correct application: A quiet, smooth spin returns right away. Bearings last longer with even coverage.
Cons: Using too much creates a sticky dust magnet. Wrong placement leaves the squeak in place.
Using Silicone Lubricant: Pros And Cons
Silicone lubricant is a strong all around choice. It coats the bearing and repels water and dust at the same time. Many vacuum technicians reach for it first. The spray and liquid forms both work well.
Silicone stays slick across a wide temperature range. This matters because brush rolls heat up during use. The lubricant will not break down from that heat quickly. It is also safe for plastic parts, which most rolls have.
Pros: It does not attract dirt the way oil does. It is gentle on plastic and rubber. It lasts a long time between applications.
Cons: Silicone can migrate to other surfaces and is hard to remove fully. It may need reapplying on very heavy use vacuums. Some sprays leave a slight film on nearby parts.
Using Dry Lubricants Like PTFE Or Graphite
Dry lubricants take a different approach. They leave a dry coating instead of a wet film. PTFE, often called Teflon, and graphite are the two main types. These shine in dusty homes.
Dust and hair simply will not cling to a dry surface. That means fewer squeaks over the long run. Graphite comes as a fine powder or in a spray. PTFE usually comes as a spray that dries fast.
Pros: They resist dirt and grit better than any wet lubricant. They suit homes with pets and high foot traffic. They keep the bearing area clean and free of buildup.
Cons: They may need more frequent reapplication than grease. Graphite powder can be messy to apply. PTFE costs a bit more than basic options. Coverage can be uneven if applied too quickly.
What To Avoid: Lubricants That Cause More Harm
Some products seem helpful but cause trouble. WD40 tops the list of things to avoid as a long term fix. It cleans well but is not a true lubricant for bearings. It dries out under heat and turns sticky.
That stickiness traps dust and makes the squeak return worse. Heavy motor oils are also a poor match. They run off the bearing and make a mess. Cooking oil and household oils break down fast and go rancid.
Never use any oil that gets gummy or attracts dirt. These shortcuts feel quick but cost you later. Avoid greases that are too thick for small bearings too. Thick grease can slow the brush roll spin. Stick to silicone or dry lubricants for the best results.
When Lubricating Is Not Enough: Replacing The Bearing
Sometimes oil cannot save a bearing. A worn bearing squeaks even after a deep clean and fresh lubricant. You might feel grinding or roughness when you spin the roll by hand. That rough feel signals real wear inside.
In this case, a replacement bearing is the only true fix. Replacement bearings are cheap and easy to find for most models. Many brush rolls let you pop the old bearing off and press a new one on. Some vacuums sell the whole brush roll as one unit.
Pros of replacing: It fully cures the squeak and grinding. New bearings restore smooth, quiet performance. It often costs less than a new vacuum.
Cons: It takes more effort than lubricating. Finding the exact part takes a little research. Some sealed rolls require a full roll swap.
Reassembling Your Vacuum The Right Way
Putting things back is just as important as taking them apart. Use the photo you took earlier as your guide. Slide the brush roll back into its slots first. Make sure the belt sits in its groove on the roll.
A belt that slips off will stop the roll from spinning. Press the end caps back on until they click. Line up the base plate over the housing. Start each screw by hand to avoid stripping the threads.
Tighten all screws snugly but not too hard. Plug the vacuum back in only after everything is secure. Turn it on for a quick test. Listen for that quiet, smooth spin. A clean reassembly means your fix will hold for a long time.
How To Prevent Squeaky Bearings In The Future
Prevention saves you from this whole job later. Clear hair from the brush roll every few weeks. This stops buildup before it reaches the bearings. Check the end caps once a month for tangles.
A quick wipe keeps dust from packing into the bearing area. Empty the dust bin or change the bag often. A full bin pushes more strain on the brush roll. Reapply lubricant every six months or so for steady use.
Keep your vacuum stored in a dry spot away from moisture. Run the vacuum over hard floors now and then to shake loose debris. These small habits add up fast. A little care each month keeps your brush roll quiet and smooth for years.
Frequently Asked Questions
Can I use WD40 to fix a squeaky vacuum brush roll?
You can use it for a quick test, but not as a lasting fix. WD40 dries out under heat and turns sticky over time. That sticky residue traps dust and brings the squeak back. A silicone or dry lubricant works far better for the long run.
How often should I lubricate my vacuum brush roll bearings?
For most homes, twice a year is a good rhythm. Heavy use or homes with pets may need it every three to four months. Clean the hair away each time you lubricate. Listen for the first hint of a squeak as your reminder.
Why does my brush roll squeak again right after I oiled it?
This usually means the bearing is dirty or worn. Lubricant on a hair packed bearing will not last. Clean the area fully first, then apply oil. If the squeak still returns, the bearing likely needs replacing.
Is silicone lubricant safe for plastic vacuum parts?
Yes, silicone is gentle on plastic and rubber. It will not crack or weaken plastic like some harsh oils can. This makes it a safe pick for modern brush rolls. Just apply a small amount to avoid excess buildup.
Can I replace a brush roll bearing myself?
Many people do this at home with simple tools. Some bearings pop off and a new one presses right on. Other models sell the whole brush roll as one piece. Check your vacuum manual or model number to find the right part.
What is the difference between a bearing and a bushing in a brush roll?
A bearing uses small balls to reduce friction and spins very smoothly. A bushing is a simple sleeve that the roll turns inside of. Both can squeak when dry or worn. Bushings often need lubricant more often than ball bearings do.

Hi, I’m Grace Bell, the founder of CleanFloorVault.com, where I personally test and review vacuum cleaners to help you find the perfect tool for a spotless home.