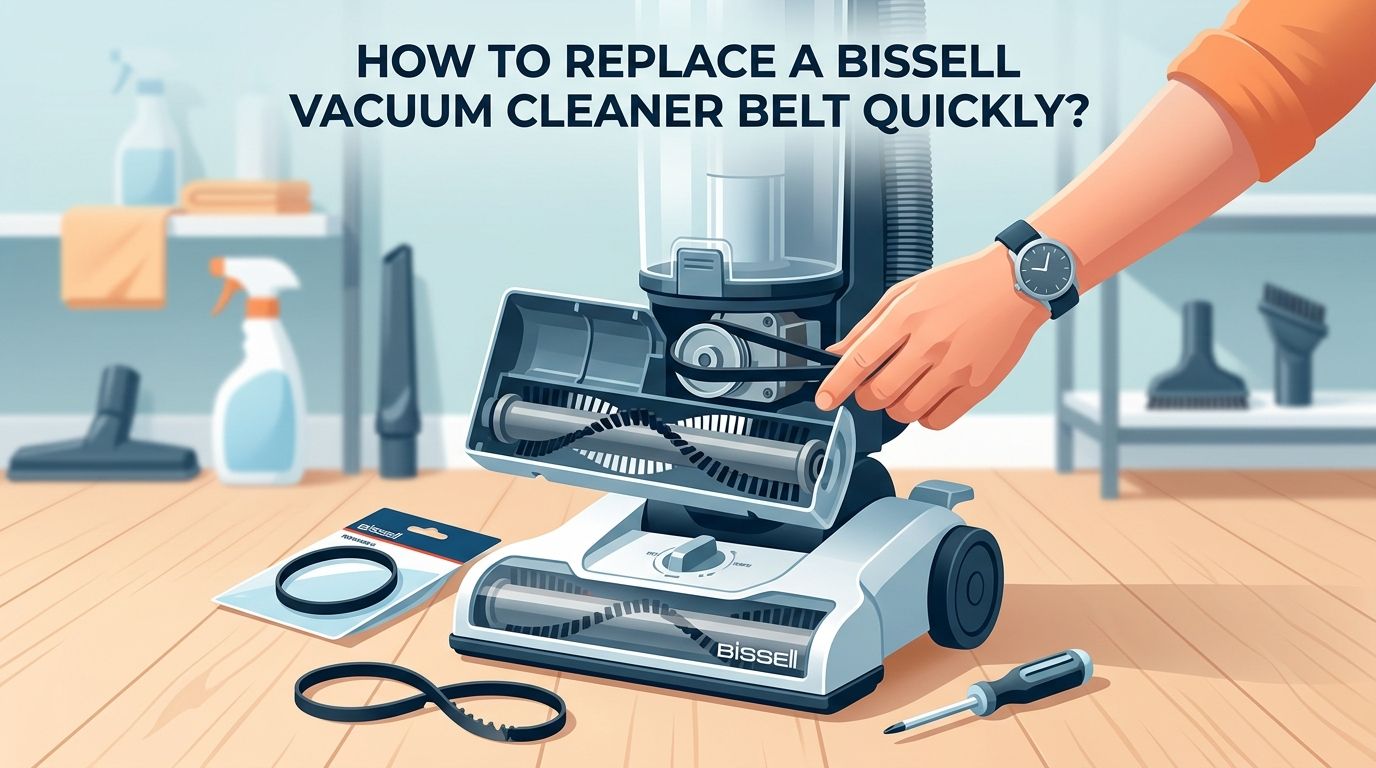
How to Replace a Bissell Vacuum Cleaner Belt Quickly?
Is your Bissell vacuum leaving dirt behind, making strange noises, or producing a burning rubber smell? The problem is almost always a worn or broken belt.
A Bissell vacuum belt connects the motor to the brush roll, and once it stretches, snaps, or melts, your vacuum loses its cleaning power fast. The good news? You do not need a technician to fix this.
Whether you own a PowerForce, CleanView, PowerLifter, or any other Bissell upright model, the process is similar. Grab a Phillips screwdriver, and let’s get your vacuum running like new again.
In a Nutshell
- A worn Bissell belt causes loss of suction, a burning smell, and a brush roll that stops spinning. These are the three biggest warning signs. If your vacuum pushes debris around instead of picking it up, check the belt first before assuming the motor is broken.
- You must buy the correct belt style for your specific Bissell model. Bissell uses several belt styles including Style 7, Style 9, Style 12, and cogged belts. Your vacuum’s model number is printed on a label on the back or bottom of the machine. Match that number to the right belt before you purchase.
- The entire replacement process requires only a Phillips head screwdriver and about 10 minutes. You flip the vacuum over, remove a few screws, pull out the brush roll, slip off the old belt, and stretch the new belt into place. No special tools or training needed.
- Bissell recommends checking your belt every 3 to 6 months and replacing it at least once a year. Rubber flat belts stretch over time even during normal use. A belt that looks intact can still be too loose to spin the brush roll at full speed.
- Always unplug the vacuum before any repair work. This sounds obvious, but the brush roll connects directly to the motor. A plugged in vacuum can cause serious injury if the motor engages while your hands are near the brush area.
- Cleaning hair, string, and debris from the brush roll during belt replacement extends the life of your new belt. A tangled brush roll puts extra strain on the belt and causes premature stretching or breaking.
How to Tell if Your Bissell Vacuum Belt Needs Replacement
Your Bissell vacuum gives you clear signals when the belt is failing. The most obvious sign is a brush roll that does not spin when you turn the vacuum on. Flip the vacuum over (while unplugged) and check if the brush roll moves freely by hand.
A burning rubber smell is another strong indicator. This happens when the belt slips on the motor pulley instead of turning properly. The friction generates heat and melts the rubber.
You may also notice reduced suction or dirt being left behind on carpet. A stretched belt cannot spin the brush roll at full speed, so the bristles fail to agitate carpet fibers and lift debris. If your vacuum suddenly gets louder but picks up less dirt, the belt is likely the cause.
Pros of early detection: You prevent motor damage and save money on costly repairs.
Cons of ignoring these signs: A broken belt can cause the motor to overheat and burn out permanently.
How to Find the Right Replacement Belt for Your Bissell Model
Finding the correct belt is the most important step. Bissell uses different belt styles for different vacuum lines. The wrong belt will not fit or will break immediately.
Start by locating your vacuum’s model number. This is printed on a sticker on the back or bottom of the machine. Write this number down. Common Bissell belt styles include Style 7 (fits models like the PowerForce and many full size uprights), Style 9 and 10, and Style 12 and 14.
You can search for your model number on the Bissell support website to find the exact belt part number. Local hardware stores and vacuum repair shops also carry common Bissell belts.
Pros of using genuine Bissell belts: They fit perfectly and meet factory specifications.
Cons of using genuine belts: They can cost slightly more than generic alternatives. However, generic belts may wear out faster or not fit as snugly.
How to Gather the Tools You Need Before Starting
You do not need a toolbox full of equipment for this job. The repair is simple and requires minimal tools.
The primary tool is a Phillips head screwdriver. Most Bissell vacuum bottom plates are secured with Phillips screws. A standard size screwdriver works for nearly every model.
Keep a pair of scissors nearby. You will need them to cut away hair, thread, and string wrapped around the brush roll. A clean brush roll is essential for a smooth belt installation.
Have a small container or magnetic tray ready to hold the screws. Losing even one screw means the bottom plate will not sit flush, which causes vibration and noise during use. A clean, flat workspace like a table or the floor gives you room to lay out parts in order.
Pros of preparing tools in advance: The job goes faster and you avoid mid repair frustration.
Cons of skipping preparation: You risk losing screws or damaging parts by using the wrong tool.
How to Safely Prepare Your Bissell Vacuum for Belt Replacement
Safety comes first with any appliance repair. Unplug the vacuum from the wall outlet before doing anything. Do not rely on the power switch alone.
Next, remove the dirt container or bag from the vacuum. This prevents dirt from spilling during the repair. Empty the container if it has debris inside.
If your Bissell model has a reclining handle, press the release pedal and lay the handle flat. Then turn the entire vacuum upside down so the bottom plate faces upward. Place it on a stable, flat surface.
Take a quick photo of the bottom plate with your phone before removing any screws. This gives you a reference image for reassembly. Some models have screws of different sizes, and the photo helps you remember which screw goes where.
Pros of proper preparation: You avoid electrical hazards and make reassembly easier.
Cons of rushing this step: Risk of shock, spilled dirt, or incorrectly reassembled parts.
How to Remove the Bottom Plate and Access the Belt
With the vacuum upside down and unplugged, locate the Phillips screws on the bottom plate. Most Bissell models have between 5 and 7 screws holding the brush roll cover in place.
Use your screwdriver to remove each screw. Place them in your container immediately. Once all screws are out, lift the bottom plate straight up and set it aside.
You will now see the brush roll sitting in a channel with the belt wrapped around it. On one end, the belt loops over a small motor pulley. On the other end, it wraps around the brush roll itself. Take note of how the belt sits before removing anything. This helps you position the new belt correctly.
Some Bissell models like the CleanView series have a slightly different layout with the belt wrapped around the center of the brush roll. The concept is the same regardless of position.
Pros of careful removal: You preserve the plate and screw threads for a tight reassembly.
Cons of forcing parts: Stripped screws or cracked plastic make future repairs much harder.
How to Remove the Old Belt and Brush Roll
Grab the brush roll at both ends and lift it straight out of its housing. The belt should come with it. If the belt is broken, it may already be loose inside the compartment.
Slip the old belt off the brush roll. Inspect the old belt before discarding it. If it is stretched, thin, or has visible cracks, it was clearly worn out. If it snapped or melted, check the brush roll and motor pulley for damage that may have caused the failure.
Now clean the brush roll thoroughly. Use scissors to cut away all hair, thread, fibers, and pet fur wrapped around the bristles and the end caps. Spin the brush roll by hand. It should rotate freely without resistance.
If the brush roll does not spin freely even after cleaning, the bearings may be worn out. In that case, you should replace the brush roll along with the belt for best results.
Pros of cleaning during replacement: Your new belt lasts longer and the vacuum performs better.
Cons of skipping cleaning: Built up debris causes the new belt to stretch or break sooner.
How to Install the New Bissell Vacuum Belt Step by Step
Take your new belt and loop one end over the motor pulley first. The motor pulley is the small round shaft located in the center of the vacuum body near the bottom plate opening.
With the belt on the motor pulley, stretch the other end of the belt over the brush roll. The belt should sit in the grooved section of the brush roll. Most Bissell brush rolls have a dedicated channel where the belt rests.
Now place the brush roll back into its housing. Make sure both ends of the brush roll click into their slots. The belt should feel taut but not overly tight. Give the brush roll a quick spin by hand. It should move smoothly with some resistance from the belt tension.
If the belt feels too loose or slides off the brush roll, double check that you purchased the correct belt style for your model. An incorrect belt will not maintain proper tension.
Pros of correct installation: The brush roll spins at full speed and suction is restored.
Cons of incorrect installation: A misaligned belt slips, overheats, or breaks within minutes of use.
How to Reassemble Your Bissell Vacuum After Belt Installation
Place the bottom plate back over the brush roll area. Align it with the screw holes on the vacuum body. Press it down gently until it sits flush.
Insert each screw by hand first to avoid cross threading. Then tighten each screw with your Phillips screwdriver. Do not overtighten. Snug and secure is enough. Overtightening can crack the plastic housing.
Work in a diagonal or crisscross pattern when tightening screws. This ensures the plate sits evenly and does not warp. Once all screws are tight, flip the vacuum upright and reattach the dirt container or bag.
Plug the vacuum in and turn it on briefly to test the brush roll. You should hear the brush spinning and see the bristles rotating. If you smell burning rubber immediately, turn the vacuum off and recheck the belt alignment.
Pros of careful reassembly: Everything fits tight with no rattling or vibration.
Cons of sloppy reassembly: Loose plates allow dirt to escape and reduce suction performance.
How to Handle Cogged Belts vs Flat Belts on Bissell Vacuums
Bissell vacuums use two main types of belts. Understanding the difference helps you buy and install the right one. Flat belts are smooth rubber bands. They are the most common type found in budget and mid range Bissell uprights like the PowerForce and CleanView lines.
Cogged belts have teeth or ridges along the inner surface. These belts grip better and transfer more power to the brush roll. Bissell uses cogged belts in some carpet cleaners and higher end models like the PowerGlide and ProHeat lines.
Flat belts stretch over time and need more frequent replacement. Cogged belts last longer because the teeth prevent slipping. However, cogged belts cost more and are less commonly available at local stores.
Pros of flat belts: They are cheap, widely available, and easy to install.
Cons of flat belts: They stretch faster and require replacement every 3 to 12 months. Pros of cogged belts: They last longer and deliver consistent brush roll speed. Cons of cogged belts: They cost more and are harder to find locally.
How to Prevent Your Bissell Vacuum Belt from Breaking Again
Prevention saves you time and money. The biggest cause of premature belt failure is a dirty or tangled brush roll. Hair and string wrap around the brush roll and create resistance. This forces the belt to work harder, which causes stretching and overheating.
Clean your brush roll every 2 to 4 weeks depending on how often you vacuum and whether you have pets. Cut away all wrapped material with scissors during each cleaning session.
Check the vacuum height setting before each use. If the vacuum sits too low for your floor type, the brush roll presses too hard against the surface. This extra friction puts strain on the belt. Adjust the height so the vacuum glides smoothly without bogging down.
Avoid vacuuming over large objects like coins, paper clips, or thick rug tassels. These items can jam the brush roll and snap the belt instantly.
Pros of regular maintenance: Your belt lasts its full lifespan and your vacuum runs efficiently.
Cons of neglecting maintenance: Frequent belt replacements and potential motor damage.
How to Troubleshoot if the New Belt Still Does Not Work
Sometimes a new belt does not solve the problem. If the brush roll still does not spin after installation, check the belt alignment first. The belt must sit on both the motor pulley and the brush roll groove simultaneously.
Inspect the motor pulley for damage. If the pulley has a flat spot, crack, or excessive wear, it cannot grip the belt properly. A damaged motor pulley usually requires professional repair.
Test the brush roll bearings by spinning the roll by hand. A brush roll that feels stiff, grinds, or refuses to turn has bad bearings and needs replacement. Installing a new belt on a seized brush roll will cause the belt to melt within seconds.
Also confirm your vacuum’s brush roll switch is turned on. Many Bissell models have a button or dial that disengages the brush roll for hard floor cleaning. If this switch is off, the brush roll will not spin regardless of belt condition.
Pros of systematic troubleshooting: You identify the real issue without wasting money on parts you do not need.
Cons of skipping troubleshooting: You may replace belts repeatedly without fixing the actual problem.
How to Know When It Is Time to Replace Instead of Repair Your Bissell Vacuum
Belt replacement is an affordable fix, but sometimes the vacuum itself has reached the end of its useful life. If you are replacing belts every few weeks, there may be a deeper mechanical issue like a worn motor shaft or cracked housing.
Grinding noises from the motor even with a new belt and clean brush roll suggest internal motor wear. Motor replacement on a budget Bissell vacuum often costs more than buying a new machine.
If the vacuum body has cracks near the belt area, dirt and air leak through these gaps. This kills suction no matter how new the belt is. Cracked housings cannot be repaired effectively at home.
A general rule is this: if the cost of repair exceeds 50% of a new vacuum’s price, replacement makes more financial sense. Bissell uprights are reasonably priced, and a new machine comes with a warranty and fresh components throughout.
Pros of replacing the vacuum: Full warranty, better performance, updated features.
Cons of replacing: Higher upfront cost compared to a simple belt swap.
Frequently Asked Questions
How often should I replace my Bissell vacuum belt?
Bissell and most vacuum experts recommend replacing flat rubber belts every 3 to 12 months depending on usage. If you vacuum daily or have pets, check the belt every 3 months. Cogged belts last longer and may only need replacement once every 1 to 2 years. A belt that looks intact can still be stretched beyond effective use, so regular inspection matters.
Can I use a generic belt instead of a genuine Bissell belt?
Yes, generic belts work on many Bissell models. However, genuine Bissell belts are made to exact factory specifications and tend to last longer. Generic belts may be slightly thinner or different in size, which can cause slipping or faster wear. If you choose a generic option, match the belt style number carefully to your vacuum model.
Why does my Bissell vacuum belt keep breaking?
Repeated belt breakage usually points to a jammed or tangled brush roll. Hair and string wrapped around the roll create friction that overwhelms the belt. A damaged motor pulley, incorrect belt style, or vacuuming at the wrong height setting can also cause this issue. Clean the brush roll and inspect all moving parts each time you replace a belt.
What does a burning smell from my Bissell vacuum mean?
A burning rubber smell almost always means the belt is slipping on the motor pulley. The friction between the stalled belt and the spinning pulley generates heat and melts the rubber. Turn off the vacuum immediately, unplug it, and inspect the belt. A stretched, cracked, or melted belt needs immediate replacement.
Do all Bissell vacuums use the same belt?
No. Bissell manufactures many different belt styles for their range of vacuums. Common styles include Style 7, 9, 10, 12, 14, and 16 for upright vacuums, plus cogged belts for certain carpet cleaners. Always check your vacuum’s model number and match it to the correct belt part number before purchasing. The Bissell support website has a compatibility tool for this purpose.
Can I run my Bissell vacuum without a belt?
Technically the vacuum motor will turn on, but the brush roll will not spin without a belt. This means the vacuum will only pick up surface debris through suction alone. It will not agitate carpet fibers or do any deep cleaning. Running without a belt is not recommended as a long term solution because the vacuum will perform far below its intended capability.

Hi, I’m Grace Bell, the founder of CleanFloorVault.com, where I personally test and review vacuum cleaners to help you find the perfect tool for a spotless home.