How to Calibrate an AI Floor Sensor That Adjusts Suction Incorrectly?
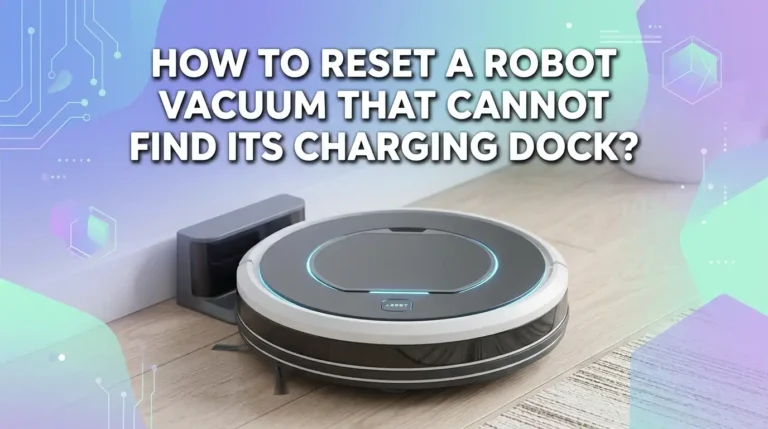
Your robot vacuum should change suction power the moment it rolls from hardwood onto carpet. When the AI floor sensor misreads the surface, you get weak suction on rugs, loud blasts on tile, and a battery that drains too fast. The problem feels frustrating, but it is fixable at home in most cases.
This guide walks you through every cause and every solution. You will learn how to clean sensors, recalibrate the system, update firmware, and adjust app settings.
Each section gives you clear steps, pros, and cons so you can pick the method that fits your situation. Let us get your robot back to smart cleaning.
Key Takeaways
- Dirty sensors cause most issues: Dust, hair, and smudges block the optical or ultrasonic sensors that detect floor changes. A simple wipe with a microfiber cloth fixes the problem in many cases.
- A soft reset clears software glitches: Holding the power button for 10 to 20 seconds reboots the AI system and restores default sensor behavior. This step often solves random suction errors.
- Firmware updates fix detection bugs: Brands like Roborock, Roomba, and Ecovacs push patches that improve carpet recognition. Always keep your robot on the latest version.
- Surface color and texture matter: Dark carpets, glossy tiles, and patterned rugs confuse AI sensors. Lighting, rug edges, and reflective floors can trick the system into wrong suction modes.
- Manual modes give you control: When calibration fails, you can lock the suction power through the app. Max mode for carpets and quiet mode for hard floors work as a reliable backup.
- Factory reset is the last resort: If nothing else works, a full reset wipes maps and settings, giving the AI a fresh start to learn your home.
Understand How AI Floor Type Sensors Work
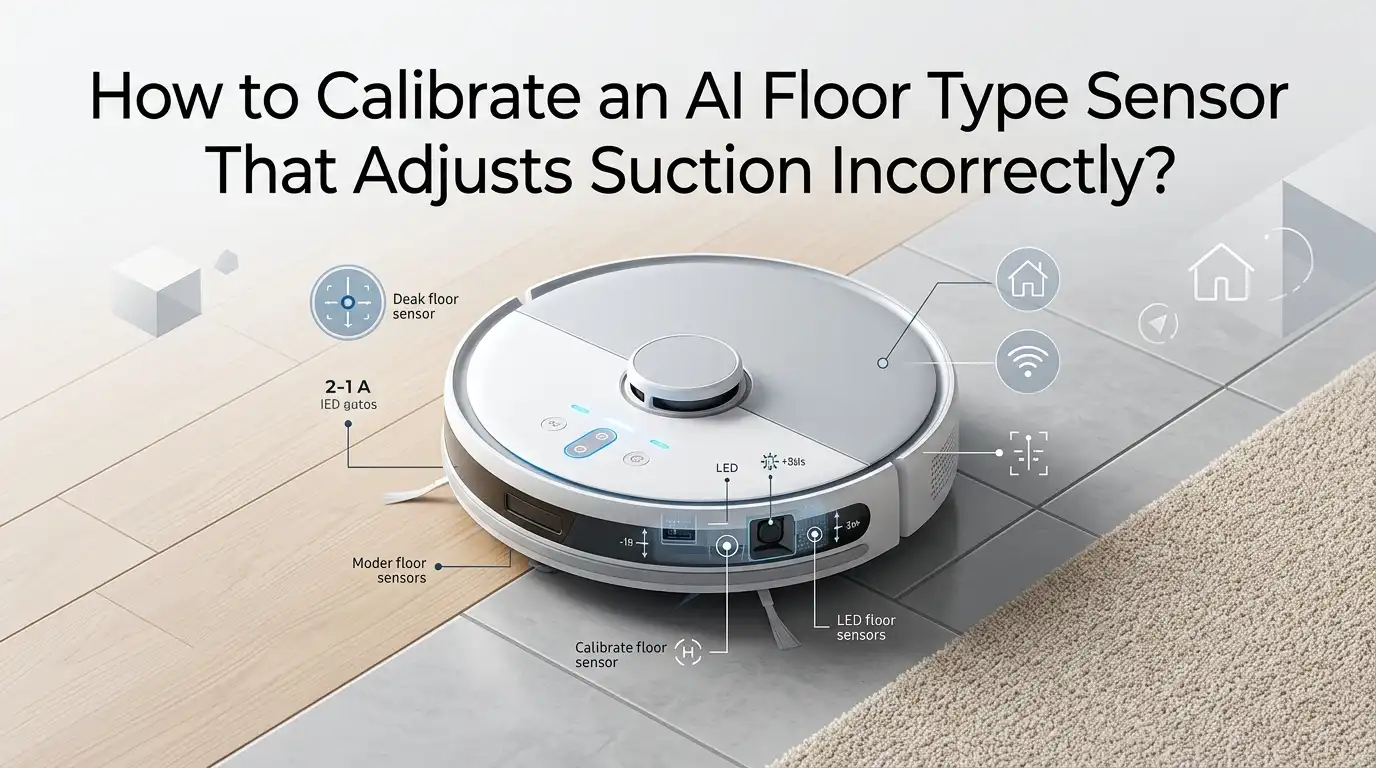
AI floor sensors use a mix of optical, ultrasonic, and pressure tools to read the surface below the robot. The sensor sends a signal, measures the bounce, and the AI guesses if the floor is hard or soft. The motor then changes suction within a second.
Some models also check the brush motor load. When the brush slows down on thick carpet, the robot boosts power. Newer units add cameras and lidar for visual checks.
Knowing this helps you spot what part is failing. A wrong reading often points to a blocked sensor, a software bug, or a tricky floor pattern that the AI cannot classify.
Spot the Signs of a Faulty Floor Sensor
You need to confirm the sensor is the real problem before you start fixing things. Watch your robot during a normal run and look for clear signs. Does the suction stay weak on rugs? Does it roar on smooth tile for no reason?
Other clues include the robot getting stuck at carpet edges, refusing to climb onto rugs, or treating dark floors as cliffs. A sudden drop in battery life also hints at wrong suction calls.
Check the app log for floor change alerts. If the log shows random switches or none at all, your AI sensor needs help. This step saves you from fixing the wrong part.
Pros of self diagnosis: it is free and quick.
Cons: you might miss a hardware fault that needs a technician.
Clean the Sensors the Right Way
Dust is the top reason AI sensors misread floors. The optical eyes on the underside of your robot pick up grime fast. Flip your vacuum upside down on a soft towel. Find the small clear lenses near the front wheel and beside the cliff sensors.
Use a dry microfiber cloth first. Wipe each lens in gentle circles. For stuck dirt, dampen the cloth with a drop of water, never spray liquid on the robot. A cotton swab helps in tight spots. Let the sensors dry for five minutes before you power on. Avoid alcohol on plastic lenses since it can cloud them over time.
Pros: cheap and very effective.
Cons: takes a few minutes and needs care to avoid scratches.
Perform a Soft Reset to Refresh the AI
A soft reset clears the cache and lets the AI recheck floor data from scratch. This often fixes random suction errors. Hold the power button for 10 to 20 seconds until you hear a beep or see the lights flash. Release the button and wait for the robot to boot.
Some models need you to press the power and clean buttons together. Check your manual for the exact combo. After the reset, run a short test cycle. Send the robot from a hard floor onto a rug. Listen for the suction shift. If the change happens at the edge, your fix worked.
Pros: no data loss and very fast.
Cons: does not solve deeper firmware or hardware issues.
Update the Firmware Through the App
Robot vacuum makers release firmware updates often. These patches improve floor recognition, fix sensor bugs, and add new cleaning modes. Open your brand app, go to the robot settings, and look for a firmware or software section. Tap update if a new version is ready.
Keep the robot on its dock during the update. The process can take 10 to 30 minutes. Do not turn off the unit or close the app. Once done, the robot reboots and runs the new code. Test it on different floors right away. Many users report better carpet boost behavior after a single update.
Pros: free, official, and targets known bugs.
Cons: updates can rarely cause new issues on older models.
Recalibrate the Sensor Through Manual Mode
Some brands offer a built in calibration tool. Open the app and search the settings for sensor calibration, floor learning, or smart mode setup. Follow the on screen steps. The robot may ask you to place it on hard floor first, then carpet, so it can record baseline values.
If your model lacks this tool, you can train it by hand. Run a full cycle on each floor type with the app open. Mark zones as carpet or hardwood manually. The AI uses your input to learn faster. Do this for two or three sessions. The sensor adapts and starts reading floors more accurately.
Pros: trains the AI to your exact home.
Cons: takes time and is not available on every brand.
Adjust Suction Settings Manually as a Workaround
When the AI sensor still misreads floors, take control through the app. Most robots let you set fixed suction power. Choose max or turbo for thick carpets and quiet or eco for hard floors. You can also assign suction levels to specific rooms on the map.
Zone cleaning gives you the most precision. Draw a box around your living room rug and set it to max. Draw another box on the kitchen tile and set it to quiet.
The robot follows your rules and ignores the faulty AI call. This trick keeps your cleaning quality high while you wait for a deeper fix.
Pros: instant control and reliable results.
Cons: uses more battery and removes the smart auto feature.
Check for Physical Damage and Worn Parts
If cleaning and resets do not work, look for damage. A cracked sensor lens or a bent bumper can block the signal. Shine a flashlight on each sensor and check for scratches or chips. Also inspect the main brush, side brush, and wheels for hair tangles that slow the motor and confuse the load sensor.
Remove the brush and clean the axle. Replace worn brushes every six to twelve months. Check the cliff sensors for cracks too. If you find damage, contact the brand for spare parts. Most makers sell sensor modules and brush kits. A small repair is cheaper than a new robot.
Pros: solves root cause and extends robot life.
Cons: may need tools and patience.
Fix Floor Surface Issues That Trick the AI
Sometimes the floor is the problem, not the sensor. Very dark carpets reflect less light, so cliff sensors read them as drops. Glossy tiles bounce signals in odd ways. Patterned rugs with sharp color shifts also confuse the AI.
You can place light colored mats at carpet edges to help the robot transition. Add no go zones in the app around tricky rugs. For dark floors, some users cover the cliff sensors with a thin strip of clear tape, but this can disable safety on stairs, so be careful. Test small changes first. Good lighting in the room also helps optical sensors read better.
Pros: works without touching the robot.
Cons: needs changes to your room setup.
Use Brand Specific Calibration Tricks
Each brand has its own quirks. Roborock users can toggle carpet boost in the app and pick max mode for boost level. Roomba owners can switch between auto, eco, and performance modes. Ecovacs offers a carpet detection toggle in Yeedi and Deebot apps.
For Roomba 980 and similar models, a battery pull does a deep reset. Open the battery door, remove the pack for two minutes, and reinsert it. Shark robots have a sensor cleaning reminder you can trigger from the app. Read your brand support page for the exact steps. These tricks often solve issues that general resets miss.
Pros: targets your model directly.
Cons: steps differ by brand and can confuse new users.
Perform a Full Factory Reset
A factory reset wipes all maps, schedules, and learned floor data. The AI starts fresh. Use this only if every other step fails. Back up your maps in the app if your brand allows it. Then go to settings and tap factory reset or restore defaults.
The process takes a few minutes. After reboot, set up Wi Fi again and link the robot to your app. Run a full mapping cycle so the AI learns your floors from scratch. Many users report that floor detection works much better after a clean start. The downside is the time needed to rebuild zones and rules.
Pros: clears deep software bugs.
Cons: erases all your custom settings.
When to Contact Support or Replace the Sensor
If you have tried every fix and the robot still misreads floors, the hardware may be at fault. Sensors can fail from age, drops, or moisture damage. Contact the brand support team with your model number, serial number, and a short video of the issue. Most makers respond within a day or two.
Warranty often covers sensor faults in the first one to two years. If your robot is out of warranty, you can buy a replacement sensor module or send it for paid repair. In some cases, a new robot makes more sense than a costly fix. Weigh the repair cost against the age of your unit.
Pros: solves true hardware faults.
Cons: can be slow and sometimes expensive.
Tips to Prevent Future Sensor Problems
Good habits keep your AI sensor sharp. Wipe the underside lenses once a week. Empty the dustbin after every run so debris does not fly into the sensor area. Keep the robot on its dock when not in use to maintain steady charge cycles.
Run firmware updates the moment they appear. Avoid wet mopping near the sensor zone. Move loose cables, socks, and small toys before each cycle. Place mats at known trouble spots to help the robot transition smoothly. These small steps add years to sensor life and keep suction smart on every floor type in your home.
Pros: low effort and long term benefit.
Cons: needs steady routine.
FAQs
How long does it take to calibrate an AI floor sensor?
Most calibration steps take five to fifteen minutes. A full reset and remap can take up to an hour, depending on your home size.
Can I damage my robot vacuum by cleaning the sensors?
No, if you use a dry or barely damp microfiber cloth. Avoid alcohol, harsh sprays, and sharp tools that can scratch the lenses.
Why does my robot vacuum boost suction on hard floors?
The brush load sensor may misread resistance from tangled hair or a stuck wheel. Clean the brush and check for debris around the axle.
Will a factory reset delete my saved maps?
Yes, in most cases. Back up your maps in the app first if your brand supports cloud saves.
How often should I update my robot vacuum firmware?
Check for updates once a month. Install new versions as soon as they appear to keep floor detection accurate.
Can dark carpets really confuse the floor sensor?
Yes. Very dark or black carpets absorb light and can be read as cliffs. Lighter edge mats or no go zones help solve this.
Is manual suction control better than auto mode?
Manual control gives reliable results when the AI fails. Auto mode saves battery and effort when the sensor works well. Use both based on your needs.

Hi, I’m Grace Bell, the founder of CleanFloorVault.com, where I personally test and review vacuum cleaners to help you find the perfect tool for a spotless home.