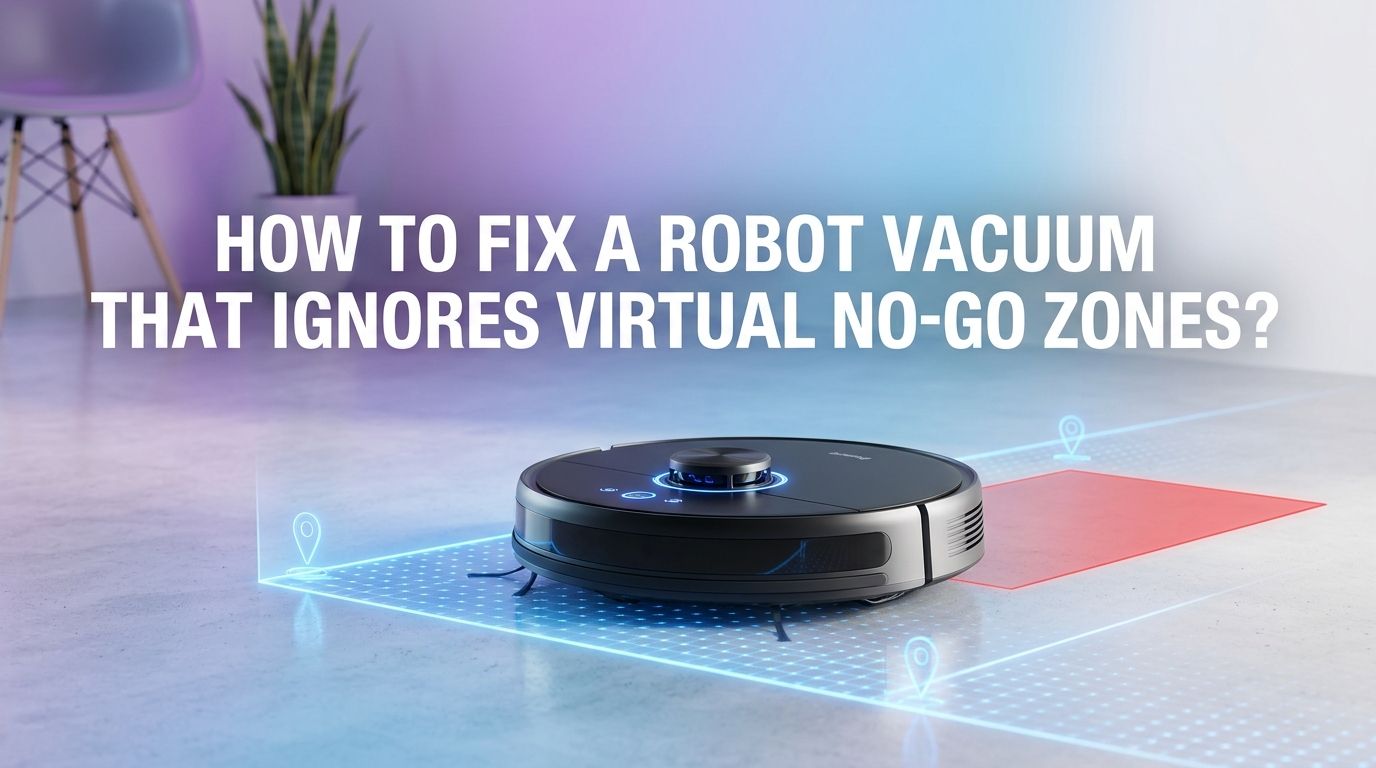
How to Fix a Robot Vacuum That Ignores Virtual No Go Zones?
You set up your virtual no go zones. You pressed start. And then you watched your robot vacuum roll right through the boundary like it did not exist. Sound familiar?
This is one of the most frustrating problems robot vacuum owners face. You bought a smart device to make cleaning easier, but it refuses to follow the rules you set for it.
The good news is that this problem is almost always fixable. Whether your vacuum is crossing app based virtual walls or ignoring magnetic boundary strips, there is a clear reason behind it.
In a Nutshell
- Dirty or blocked sensors are the most common cause of a robot vacuum crossing no go zones. LiDAR sensors, infrared receivers, and camera lenses collect dust and pet hair over time. A quick wipe with a soft, dry cloth can restore proper boundary detection in many cases.
- Outdated firmware or app versions often cause boundary glitches. Manufacturers regularly release updates that fix mapping and zone related bugs. Always check for pending updates in both your companion app and the vacuum itself before trying other fixes.
- A corrupted or shifted map will make no go zones useless. If your vacuum’s saved map no longer matches your actual floor layout, the no go zones you placed on that map will point to wrong locations. Deleting the old map and running a fresh mapping cycle usually solves this.
- App based no go zones must be saved correctly to take effect. Many users draw a zone but forget to tap “Save” or “Confirm.” Some apps also require you to exit the editing screen for changes to sync to the robot. Always double check that your changes are saved and visible before starting a cleaning run.
- Physical virtual wall devices need fresh batteries and correct placement. If you use a standalone virtual wall accessory, weak batteries or wrong positioning will stop it from creating an effective infrared beam. Replace the batteries and reposition the device so the beam covers the full width of the area you want to block.
- A factory reset is the last resort but often the most effective fix for persistent boundary problems. This clears all stored data and lets you start clean with a new map and fresh no go zone settings.
Understanding How Virtual No Go Zones Work
Virtual no go zones are digital boundaries you set through your robot vacuum’s companion app. These zones appear on the vacuum’s stored map as blocked areas. The vacuum reads this map data during each cleaning run and plans a path that avoids those zones.
Some brands also offer physical virtual wall devices that emit an infrared beam. The vacuum’s IR sensor detects this beam and treats it as a wall. Both systems depend on accurate sensor input and correct software settings.
The key thing to understand is that no go zones are software instructions tied to a specific map. If anything disrupts the map, the sensors, or the communication between the app and the vacuum, the zones stop working.
Check if Your No Go Zones Were Actually Saved
This sounds simple, but it is the number one reason no go zones fail. Many robot vacuum apps require you to tap a specific “Save” or “Confirm” button after drawing your zones. If you skip this step, the zone only exists on your screen and never syncs to the robot.
Open your app and go to the map editor. Look for your no go zones. If they are missing, you need to redraw and save them. Some apps also require the vacuum to be docked and connected to Wi Fi for the sync to complete.
Pros of this fix: It takes less than a minute and solves the problem instantly if this was the cause.
Cons of this fix: It only works if the issue was a missed save. Deeper problems need different solutions.
Clean All Navigation Sensors on Your Robot Vacuum
Dirty sensors are a leading cause of boundary failures. Robot vacuums use LiDAR, infrared, or camera based sensors to read their surroundings and follow map data. Dust, pet hair, and smudges on these sensors reduce accuracy.
Turn off your vacuum and flip it over. Use a soft, dry microfiber cloth to gently wipe the cliff sensors on the bottom. For the LiDAR turret on top, wipe the rotating dome carefully. Clean the front bumper sensors and any camera lenses with the same cloth.
Do this at least once a week if you have pets or a dusty home. A clean sensor array restores the vacuum’s ability to locate itself on the map and respect the zones you set.
Pros of this fix: Free, quick, and effective for most sensor related issues.
Cons of this fix: Does not help if the problem is software based or map related.
Update Your Vacuum’s Firmware and the Companion App
Manufacturers push firmware updates that fix bugs related to mapping, boundary detection, and zone management. If your vacuum runs outdated firmware, it may have known issues with no go zones that a simple update can resolve.
Open your companion app and check for available updates. Most apps show firmware update notifications under settings or device info. Make sure your vacuum is on the charging dock and connected to Wi Fi before starting any update.
Also update the app itself from your phone’s app store. Older app versions sometimes fail to sync zone data correctly with the vacuum. Keeping both the firmware and the app current removes many software related causes of boundary problems.
Pros of this fix: Resolves known bugs and improves overall performance.
Cons of this fix: Updates sometimes introduce new bugs, and the process can take several minutes.
Delete the Map and Run a Fresh Mapping Cycle
A corrupted or outdated map is a very common reason for no go zone failures. If you moved furniture, relocated the charging dock, or changed your floor layout, the vacuum’s stored map may no longer match reality. The no go zones you placed will point to wrong spots.
Go into your app’s map management section. Delete the current map. Then place the vacuum on the dock and start a new mapping run. Keep the floors clear of clutter during this process so the vacuum can build an accurate map.
Once the new map is ready, redraw all your no go zones on the fresh map and save them. This gives the vacuum a clean starting point with accurate boundaries.
Pros of this fix: Eliminates all map related errors and gives you a fresh start.
Cons of this fix: You lose all previously saved room divisions, schedules tied to rooms, and custom zone settings.
Reposition Your Charging Dock Correctly
The charging dock serves as the reference point for your robot vacuum’s entire map. If the dock gets bumped, moved, or repositioned even slightly, the vacuum’s sense of location shifts. This shift causes no go zones to land in wrong areas.
Place the dock flat against a wall with at least one to two feet of clear space on each side and three to four feet of open space in front. Avoid placing the dock near mirrors, glass doors, or direct sunlight, as these can confuse LiDAR and camera sensors.
After repositioning the dock, run a new mapping cycle to rebuild the map around the correct dock location. This ensures all zones align with the vacuum’s actual sense of position.
Verify Wi Fi Connection and App Sync Status
Your robot vacuum receives no go zone data through a cloud sync between the companion app and the vacuum. If the Wi Fi connection drops or the sync fails, the vacuum may start a cleaning run without the latest zone settings.
Check that your vacuum shows as “online” or “connected” in the app. Restart your router if the connection seems unstable. Also try closing the app completely and reopening it to force a fresh sync.
Some vacuums store zone data locally after syncing, so a temporary Wi Fi drop during cleaning should not cause problems. But if the initial sync never completed, the vacuum will run without your boundaries.
Pros of this fix: Solves connectivity related sync failures.
Cons of this fix: Does not fix problems caused by corrupted maps or dirty sensors.
Adjust the Size and Position of Your No Go Zones
Sometimes the no go zones are saved and synced, but they are too small or slightly misaligned on the map. A robot vacuum needs a zone large enough to detect and avoid before its wheels cross the line.
Open the map editor in your app and look at each zone. Extend the boundaries by a few inches on each side. This gives the vacuum extra room to detect the boundary and change direction before entering the blocked area.
Also check that the zone covers the full width of the opening you want to block. A narrow zone across a wide doorway may leave gaps that the vacuum can slip through. Draw the zone wider than the actual opening for the best results.
Troubleshoot Physical Virtual Wall Devices
If you use a standalone virtual wall accessory, check the batteries first. Weak or dead batteries produce a faint infrared beam that the vacuum cannot detect. Replace them with fresh batteries and make sure the indicator light blinks when you turn the device on.
Position the virtual wall so its beam crosses the full opening you want to block. The beam must be at the same height as the vacuum’s IR sensor. Place the device on the floor, not on a shelf or raised surface.
Test the virtual wall by driving the vacuum toward it manually. Press the clean button and watch whether the vacuum turns away from the beam. If it does not, the vacuum’s IR sensor may need cleaning, or the virtual wall unit may be defective.
Pros of this fix: Physical walls work independently of maps and apps.
Cons of this fix: Requires battery replacements and correct positioning every time.
Perform a Factory Reset as a Last Resort
If nothing else works, a factory reset clears all stored data from your vacuum, including maps, schedules, and zone settings. This eliminates any corrupted data or software glitches that may cause boundary failures.
Find the reset option in your app’s device settings or press and hold the physical reset button on the vacuum. The exact method varies by brand, so check your user manual for specific instructions.
After the reset, set up the vacuum from scratch as if it were new. Reconnect it to Wi Fi, run a mapping cycle, and redraw all your no go zones. This fresh start resolves nearly all persistent issues with no go zone compliance.
Pros of this fix: Clears all possible software and data related problems.
Cons of this fix: You lose every custom setting and must set everything up again from zero.
Prevent Future No Go Zone Failures
Prevention saves you from repeating these fixes. Lock your map in the app if your vacuum offers this feature. A locked map prevents the vacuum from overwriting it with a new scan during routine cleaning runs.
Avoid moving the charging dock once your map is built. If you must move it, delete the old map and create a new one immediately. Clean your vacuum’s sensors on a weekly schedule to keep detection accuracy high.
Keep your companion app and vacuum firmware updated by enabling automatic updates. This ensures you always have the latest bug fixes and performance improvements. Also avoid running the vacuum in very dark rooms, as many sensors need ambient light to function correctly.
When to Contact Customer Support
Some no go zone problems point to hardware defects that you cannot fix at home. If your vacuum’s LiDAR turret does not spin, if the IR sensor shows visible damage, or if the vacuum fails to detect any boundaries even after a factory reset, the issue is likely hardware related.
Contact your vacuum manufacturer’s customer support team with a clear description of the problem and the troubleshooting steps you already tried. Most brands offer warranty coverage for sensor and navigation hardware defects. Have your model number and purchase date ready when you reach out. A support agent can often run remote diagnostics or arrange a replacement if needed.
Frequently Asked Questions
Why does my robot vacuum cross the no go zone only sometimes?
Intermittent boundary crossing usually points to a weak Wi Fi connection or a partially corrupted map. The vacuum may load correct zone data on some runs but fail to sync updated data on others. Clean the sensors, check your Wi Fi signal strength near the dock, and consider rebuilding the map to fix this inconsistency.
Can I use magnetic strips instead of app based no go zones?
Yes, some robot vacuums support magnetic boundary strips that you place on the floor. The vacuum detects the magnetic field and avoids crossing the strip. This method works independently of your app and map, so it can be a reliable backup. However, not all vacuum models support magnetic strips, so check your user manual first.
Do no go zones work during scheduled cleaning runs?
Yes, no go zones should apply to all cleaning runs, including scheduled ones. If your vacuum ignores zones only during scheduled runs, the issue is likely a sync problem. Open the app, verify the zones are visible on the map, and restart the vacuum before the next scheduled run to force a fresh sync.
How many no go zones can I set at once?
Most robot vacuums allow between 10 and 15 no go zones per map. Setting too many zones can sometimes slow down the vacuum’s path planning. If you need many restricted areas, try using a combination of no go zones and virtual walls to keep the total count manageable.
Will a power outage erase my no go zones?
A power outage should not erase your no go zones because most vacuums store map and zone data in non volatile memory. However, if the vacuum’s battery drains completely and stays dead for an extended period, some models may lose stored data. Keep the vacuum on its dock to avoid this risk.

Hi, I’m Grace Bell, the founder of CleanFloorVault.com, where I personally test and review vacuum cleaners to help you find the perfect tool for a spotless home.