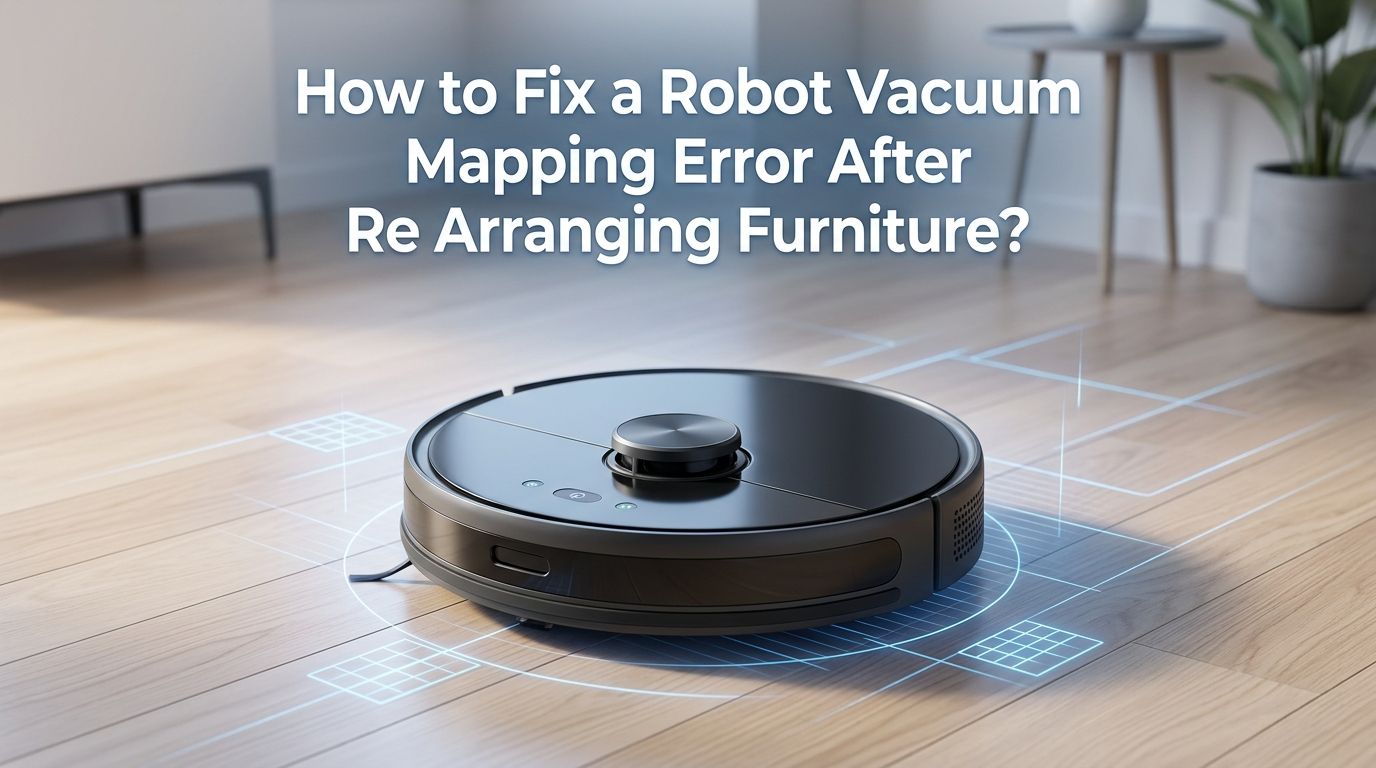
How to Fix a Robot Vacuum Mapping Error After Re Arranging Furniture?
You just moved your couch, added a new bookshelf, or completely rearranged your living room. Now your robot vacuum is bumping into walls, missing entire sections of your home, and acting like it has never seen the place before.
Sound familiar? A mapping error after rearranging furniture is one of the most common frustrations robot vacuum owners face. The good news is that this problem is almost always fixable with a few simple steps.
Robot vacuums use technologies like LiDAR, cameras, and sensors to build a virtual floor plan of your home. When you move furniture, the vacuum loses its reference points.
In a Nutshell
- Robot vacuums rely on fixed reference points like walls, large furniture, and the charging dock to build their internal maps. Moving even a single large item can confuse the vacuum and cause a mapping error. The more items you move, the bigger the confusion.
- Cleaning your vacuum’s sensors is the first step you should take before doing anything else. Dust, pet hair, and grime on LiDAR sensors or cameras will make any mapping attempt less accurate. A quick wipe with a dry cloth can solve minor issues instantly.
- Most modern robot vacuums can update their maps automatically if you simply run a full cleaning cycle after the furniture change. Many brands like Roborock, Ecovacs, and iRobot will detect the new layout and adjust the saved map on their own over one or two runs.
- A full remap is the most reliable fix for major furniture rearrangements. Deleting the old map and letting the vacuum scan your entire home from scratch ensures the most accurate results. This process usually takes 10 to 30 minutes depending on home size.
- Your charging dock placement matters more than you think. If you moved the dock along with the furniture, you may have created a secondary problem. Always place the dock flat against a straight wall with at least 20 inches of clearance on each side and 40 inches in front.
- Firmware and app updates frequently fix mapping bugs that cause errors even after furniture changes. Check your vacuum’s companion app for any pending updates before starting a remap.
Why Your Robot Vacuum Gets Confused After Furniture Changes
Robot vacuums do not see your home the way you do. They use a technology called SLAM (Simultaneous Localization and Mapping) to understand their surroundings. SLAM relies on fixed landmarks like walls, door frames, and large furniture pieces to determine the vacuum’s position in the room.
When you move a couch from one wall to another, the vacuum loses a key reference point. It expects the couch to be in one place but finds empty space instead. This mismatch between its saved map and reality causes a mapping error. The vacuum may stop mid clean, return to the dock early, or clean the same area multiple times.
LiDAR based vacuums send out laser beams that bounce off surfaces to measure distances. Camera based (vSLAM) vacuums use visual cues from ceilings and walls. Both systems struggle when the environment changes significantly. A single chair swap might not cause issues, but rearranging an entire room almost certainly will.
Understanding this helps you choose the right fix. Minor changes may only need a quick automatic update, while a full room overhaul calls for a complete remap.
Check If Your Vacuum Supports Automatic Map Updates
Before you start troubleshooting, check whether your robot vacuum can update its map automatically. Many newer models from popular brands have this feature built in. The vacuum detects layout changes during a regular cleaning run and adjusts the saved map on its own.
For example, iRobot’s Roomba models with Imprint Smart Mapping will highlight “New Space Found” after a cleaning job and update the map accordingly. Roborock, Dreame, and Ecovacs vacuums also offer real time map updates during routine cleaning sessions. If only one or two pieces of furniture moved, a standard cleaning run may be enough to fix the error.
To test this, simply start a full home cleaning cycle. Do not select individual rooms. Let the vacuum cover the entire area. After the run, open the companion app and check whether the map reflects the new layout.
Pros: This method requires zero effort and preserves your room labels, no go zones, and cleaning schedules. Cons: It may not work for large scale changes and could take two or three runs to stabilize the map completely.
Clean All Sensors Before Doing Anything Else
Dirty sensors are a hidden cause of mapping errors that many people overlook. Even if furniture changes caused the initial problem, grimy sensors will make every fix attempt less effective. Dust, pet hair, and fingerprints on the LiDAR module or camera lens reduce the vacuum’s ability to scan the room accurately.
Turn off your robot vacuum and flip it over. Use a clean, dry microfiber cloth to gently wipe the LiDAR turret on top of the vacuum. If your model uses a camera, clean the lens with a soft cloth. Never use water or cleaning solutions on sensors as moisture can damage sensitive electronics.
Also clean the cliff sensors on the bottom of the unit. These small openings detect drop offs like stairs. When they are dirty, the vacuum may refuse to enter certain rooms or behave erratically near edges. A cotton swab works well for reaching these small openings.
Finally, check the wheels and remove any tangled hair or debris. Dirty wheels can slip on smooth floors and feed incorrect distance data to the mapping system. Pros: This is free, quick, and often resolves minor mapping glitches without any other steps. Cons: It will not fix errors caused by a major layout change on its own.
Verify Your Charging Dock Placement
The charging dock serves as the home base and starting reference point for your robot vacuum’s map. If you moved the dock during your furniture rearrangement, this alone could be causing the mapping error. The vacuum expects the dock in a specific location, and a new position throws off the entire coordinate system.
Place the dock flat against a straight wall. Leave at least 20 inches (50 cm) of open space on both sides and 40 inches (100 cm) of clear floor in front. Avoid placing the dock in corners, near mirrors, or close to large reflective surfaces. These conditions confuse laser sensors and prevent the vacuum from docking correctly.
If you must move the dock to a new location, plan on running a full remap afterward. The vacuum needs to recalibrate its starting coordinates. Simply moving the dock and hoping the old map still works will create more problems.
Pros: Correct dock placement ensures reliable docking and accurate map orientation for every future cleaning run. Cons: If you rearranged the room significantly, fixing the dock alone will not resolve the full mapping error.
Run a Training or Mapping Run
Most robot vacuums offer a dedicated mapping mode that scans your home without actually cleaning. This is faster than a full cleaning cycle and creates a fresh, accurate map. Check your companion app for options labeled “Quick Map,” “Training Run,” or “Mapping Mode.”
During this run, the vacuum drives through your entire home at a faster pace. It focuses solely on scanning walls, furniture, and room boundaries. Make sure all doors are open so the vacuum can access every room you want mapped. Close doors to rooms or areas you want excluded.
Remove obstacles from the floor before starting. Pick up shoes, toys, pet bowls, and loose cables. These items can block the vacuum’s path and create gaps in the map. Keep pets and family members out of the cleaning area to avoid interference.
After the mapping run, open the app and review the new map. You should see accurate room boundaries that match your updated layout. Label each room and set up no go zones or virtual walls if your vacuum supports them.
Pros: This creates a clean, accurate map in less time than a full cleaning run. Cons: Not all models have a dedicated mapping mode. Budget models may require a full cleaning cycle to generate a new map.
Delete the Old Map and Start Fresh
When automatic updates and training runs fail to fix the error, deleting the old map is the most effective solution. This forces the vacuum to forget everything it knows about your home and build a brand new map from scratch.
Open your vacuum’s companion app. Go to the map settings or map management section. Select the current map and choose the delete or reset option. Confirm your choice. This will erase all saved room labels, no go zones, and cleaning schedules tied to that map.
After deleting, place the vacuum on the charging dock. Make sure it is fully charged before starting. Then begin a new mapping or cleaning run. The vacuum will scan every room and build a fresh floor plan. This typically takes 10 to 30 minutes for a standard home.
Once the new map is saved, take a few minutes to relabel rooms and set up virtual boundaries again. This step is worth the effort because a clean, accurate map dramatically improves cleaning performance and coverage.
Pros: This is the most reliable fix for significant furniture rearrangements. The new map perfectly matches your current layout. Cons: You lose all previous settings, including room names, schedules, and no go zones. You will need to set them up again.
Handle Mirrors, Glass, and Reflective Surfaces
If your rearranged furniture includes mirrors, glass tables, or chrome fixtures, these could be a major source of mapping errors. LiDAR sensors work by bouncing laser beams off surfaces. Reflective materials scatter or redirect those beams, creating phantom walls or nonexistent rooms on the map.
Floor to ceiling mirrors are the biggest offenders. The vacuum’s laser passes through the reflection and thinks there is a room beyond the glass. This creates a stretched, warped, or duplicated section on the map that confuses future cleaning runs.
The simplest fix is to apply a frosted window film to the lower portion of mirrors or glass panels. This blocks the laser at the vacuum’s scanning height without changing the look of the glass from a normal viewing angle. Matte tape on reflective furniture legs also helps.
If applying film is not an option, use no go zones in the app to keep the vacuum away from these surfaces. Set a virtual boundary about six inches in front of the mirror or glass panel. This prevents the laser from hitting the reflective surface directly.
Pros: Addressing reflective surfaces prevents recurring mapping errors even after future furniture changes. Cons: Frosted film or tape changes the appearance of your furniture and may not suit every home style.
Update Your Vacuum’s Firmware and App
Outdated software is a frequently overlooked cause of mapping errors. Manufacturers regularly release firmware updates that improve mapping accuracy, fix known bugs, and enhance obstacle detection. Running old firmware means your vacuum may struggle with layout changes that newer software handles automatically.
Open your vacuum’s companion app and check for updates. Look for a firmware update option in the device settings. If an update is available, install it before starting any remap. Also update the smartphone app itself through your device’s app store.
Some firmware updates specifically address mapping stability and map saving issues. Users on forums for brands like Roborock and Dreame have reported that a single firmware update resolved persistent mapping errors they could not fix any other way.
After updating, restart your vacuum by powering it off, waiting 15 seconds, and powering it back on. Then try a new mapping run. The updated algorithms may handle your rearranged furniture much better than the previous version.
Pros: Updates are free and can fix bugs that no amount of remapping will resolve. Cons: Some updates may change settings or introduce new issues, though this is rare.
Use Room Dividers and Virtual Walls Effectively
After building a new map, take advantage of virtual walls and room dividers in your vacuum’s app. These tools let you define room boundaries, create no go zones, and control exactly where the vacuum can and cannot go.
If your rearranged furniture created a new seating area or divided a large open space, use the room divider tool to split or merge rooms on the map. This helps the vacuum clean each section in an organized pattern instead of zigzagging across a large undefined space.
Set no go zones around delicate items, pet feeding areas, or spots where the vacuum tends to get stuck. Virtual walls work like invisible barriers that the vacuum will not cross. Place them in front of cables, under low furniture, or near drop offs.
These settings also make scheduled cleaning more effective. You can tell the vacuum to clean specific rooms at specific times. For example, clean the kitchen after dinner and the bedrooms in the morning. Proper room setup reduces missed spots and unnecessary repeat cleaning.
Pros: Virtual walls and room dividers give you precise control over cleaning zones and schedules. Cons: Setting them up takes time, and you need to redo them if you delete and remap again.
Perform a Factory Reset as a Last Resort
If nothing else works, a factory reset restores your vacuum to its original out of the box state. This erases all maps, settings, schedules, and network connections. It is the nuclear option, but it works for persistent errors that survive every other troubleshooting step.
The process varies by brand. For most models, you can find the reset option in the companion app under device settings. Some vacuums have a physical reset button on the unit itself. Press and hold it for 10 to 15 seconds until you hear a confirmation tone or see a light indicator.
After the factory reset, you will need to reconnect the vacuum to your Wi Fi network and pair it with the app again. Then run a full mapping cycle to build a completely new map. Set up room labels, no go zones, and cleaning schedules from scratch.
A factory reset also clears any corrupted data that may have been causing errors. If a software glitch corrupted the map file, no amount of remapping will help until the underlying data is wiped clean.
Pros: This resolves deep software issues and corrupted map data that other methods cannot fix. Cons: You lose every custom setting and must set up the entire vacuum from scratch, which takes considerable time.
Tips to Prevent Mapping Errors in the Future
You can take a few simple steps to reduce the chance of mapping errors the next time you rearrange your furniture. Prevention is easier than troubleshooting, and these habits keep your vacuum running smoothly.
First, avoid moving the charging dock. If you must relocate it, immediately run a remap so the vacuum establishes a new home base reference point. A misplaced dock is the single most common trigger for mapping problems.
Second, make furniture changes gradually when possible. Moving one or two items at a time gives the vacuum a chance to update its map incrementally. Rearranging an entire room at once forces a full remap every time.
Third, clean your vacuum’s sensors once a week if you have pets, or every two weeks for homes without pets. Consistent sensor maintenance prevents gradual accuracy loss. Fourth, keep your firmware and app updated. Enable automatic updates if your app supports this feature.
Finally, run a full home cleaning cycle at least once a week, even if you normally use room specific cleaning. Full runs help the vacuum refresh its entire map and catch any changes you might not have noticed.
When to Contact Customer Support
Sometimes a mapping error signals a hardware problem that software fixes cannot resolve. If you have tried every step in this guide and the vacuum still produces broken or inaccurate maps, the issue may be a faulty LiDAR sensor, damaged camera, or defective gyroscope.
Signs of a hardware problem include a LiDAR turret that does not spin freely, visible cracks on the camera lens, or error messages in the app that mention sensor failure. If the vacuum consistently produces the same distorted map even after a factory reset and full remap, hardware is the likely culprit.
Contact the manufacturer’s customer support team. Most brands offer warranty coverage for sensor and mapping hardware defects. Provide them with details about what you have already tried, including cleaning sensors, updating firmware, and performing a factory reset. This speeds up the support process.
Some manufacturers also offer repair services or replacement parts for out of warranty units. Check your vacuum’s documentation or the brand’s website for service options in your area.
Frequently Asked Questions
Do I need to remap my robot vacuum every time I move a piece of furniture?
No, you do not need to remap after every small change. Most modern robot vacuums can detect minor layout differences and update the map automatically during a routine cleaning run. A full remap is only necessary when you make large scale changes like rearranging an entire room or moving the charging dock to a new location.
How long does it take for a robot vacuum to create a new map?
A dedicated mapping run typically takes 10 to 30 minutes depending on the size of your home. A full cleaning cycle used for mapping takes longer because the vacuum cleans while it scans. Larger homes with multiple rooms may require two or three runs before the map is fully accurate.
Why does my robot vacuum miss rooms after I rearrange furniture?
The vacuum likely cannot access those rooms because a furniture change blocked the path, or the map shows a wall where a doorway now exists. Run a full home cleaning cycle with all doors open. If the vacuum still misses rooms, delete the old map and create a new one from scratch.
Can I edit the map manually instead of remapping?
Yes, most companion apps allow you to merge rooms, split rooms, and adjust room boundaries manually. However, manual edits cannot fix a fundamentally broken map. If the walls and boundaries are distorted or overlapping, a fresh remap is the better option.
Will a factory reset delete my cleaning history and schedules?
Yes, a factory reset erases everything on the vacuum, including saved maps, cleaning schedules, Wi Fi settings, and cleaning history. You will need to set up the vacuum from scratch as if it were brand new. Use this option only after all other troubleshooting methods have failed.
Why does my robot vacuum keep creating a new map instead of updating the old one?
This usually happens when the layout has changed so much that the vacuum cannot match its surroundings to the saved map. It may also occur if the charging dock was moved or if the sensors are dirty. Clean the sensors, verify dock placement, and run a full cleaning cycle to allow the vacuum to reconnect with the existing map.

Hi, I’m Grace Bell, the founder of CleanFloorVault.com, where I personally test and review vacuum cleaners to help you find the perfect tool for a spotless home.