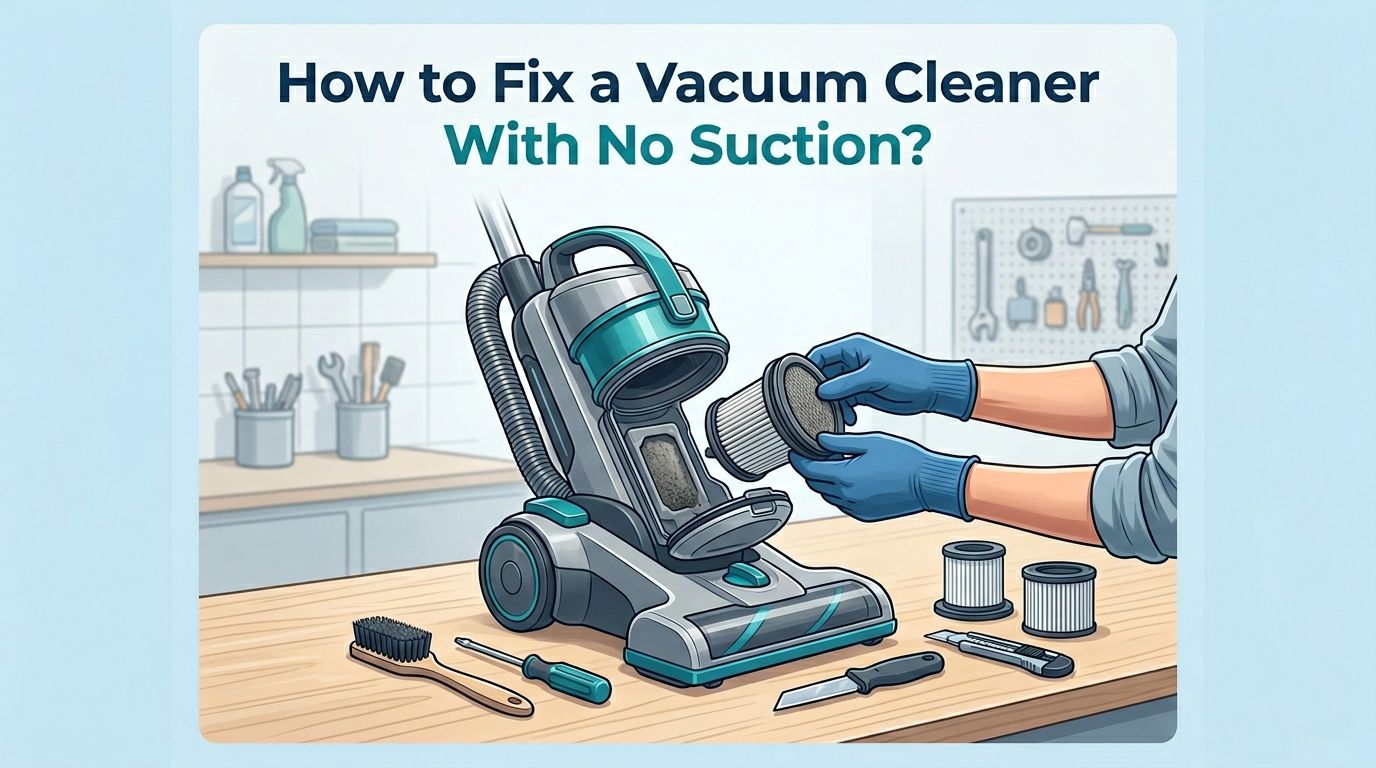
How to Fix a Vacuum Cleaner With No Suction?
Is your vacuum cleaner pushing dirt around instead of picking it up? You’re not alone. A vacuum cleaner with no suction is one of the most common household appliance problems. The good news is that most suction issues are easy to fix at home without calling a repair technician.
A loss of suction usually points to a simple cause. It could be a clogged filter, a full dust bag, a blocked hose, or a worn belt. In most cases, you can identify and fix the problem in less than 30 minutes with basic tools you already own.
This guide walks you through every possible reason your vacuum lost suction. You will learn exactly what to check, how to fix each issue, and when it might be time to call a professional or replace your machine entirely.
In a Nutshell
- Check the dust bag or canister first. A full or overstuffed dust container is the number one reason vacuums lose suction. Empty the canister or replace the bag when it reaches about 75% full for best performance.
- Clogged filters kill airflow. Most vacuums have at least two filters. Dirty or clogged filters block the air from passing through the machine. Washing or replacing these filters often restores suction completely.
- Inspect the hose and attachments for blockages. Hair, pet fur, small objects, and built up debris can create clogs inside the hose, wand, or brush head. A simple visual check and clearing of the blockage fixes the problem fast.
- Look for air leaks in seals and connections. Cracked hoses, loose fittings, and worn gaskets let air escape. This breaks the vacuum seal your machine needs to generate strong suction. Tightening connections or replacing a cracked hose brings suction back.
- A worn or broken belt stops the brush roll. The brush roll agitates carpet fibers and pushes debris toward the suction path. If the belt is stretched, cracked, or snapped, your vacuum won’t pick up dirt from carpets.
- Know when to repair and when to replace. If repair costs exceed 50% of a new vacuum’s price, or if your vacuum is over 8 years old with recurring problems, replacement is often the smarter choice.
How to Check and Empty the Dust Bag or Canister
The first thing you should do is check the dust container. A full bag or canister is the most common cause of suction loss. When the container fills up, air has nowhere to go, and suction drops fast.
For bagged vacuums, remove the bag and check how full it is. Replace it when it reaches about two thirds to three quarters full. A completely stuffed bag blocks airflow even after you remove the clog.
For bagless vacuums, detach the canister and dump it into a trash bin. Wipe the inside walls with a dry cloth to remove dust film. Check the canister for cracks that might cause air leaks.
Pros: This is the fastest and easiest fix. It costs nothing and takes under a minute. Cons: If you let the bag overfill repeatedly, dust can get into the motor and cause long term damage.
How to Clean or Replace Clogged Vacuum Filters
Filters are your vacuum’s lungs. Most vacuums have a pre motor filter and a post motor or HEPA filter. When these get clogged with fine dust, they choke the airflow and suction drops sharply.
Remove each filter and hold it up to light. If you cannot see light passing through, the filter needs cleaning or replacing. Many foam and felt filters are washable. Rinse them under cool running water and let them dry completely for at least 24 hours before reinstalling.
HEPA filters usually need replacement every 6 to 12 months. Do not wash a HEPA filter unless the manufacturer says it is washable. Putting a wet filter back into your vacuum can cause mold growth and motor damage.
Pros: Filter cleaning is free, and replacement filters are inexpensive. This fix restores suction in a large percentage of cases. Cons: You need to wait for filters to dry fully, so you cannot use your vacuum right away after washing them.
How to Find and Remove Hose Blockages
A clogged hose is another frequent culprit. Hair, small toys, socks, and clumps of pet fur can lodge inside the hose and completely block airflow.
Detach the hose from the vacuum body. Look through one end to see if you can spot a blockage. Drop a coin or small ball through the hose. If it does not come out the other end, there is a clog inside.
Use a broom handle or a long, flexible rod to push the blockage out gently. You can also straighten a wire hanger and carefully feed it through. Avoid using sharp objects that could puncture the hose lining.
For stubborn clogs, run warm water through the hose in a bathtub. Let it dry fully before reattaching it to the vacuum.
Pros: This fix requires no special tools and resolves the issue immediately. Cons: You risk puncturing the hose if you use sharp tools, and you need to dry the hose completely before use.
How to Inspect the Brush Roll for Tangled Debris
The brush roll sits at the bottom of your vacuum and spins to sweep dirt from floors and carpets. Over time, hair, string, and fibers wrap tightly around it. This slows or stops the spinning and reduces your vacuum’s ability to pick up debris.
Turn off and unplug your vacuum. Flip it over to access the brush roll. Use scissors or a seam ripper to carefully cut away tangled hair and thread. Pull the debris off by hand.
Check that the brush roll spins freely after cleaning. If it feels stiff or won’t turn, the bearings might be worn and you may need a replacement brush roll.
Some vacuums have a brush roll indicator light. A red light usually means the roll is jammed or not spinning. A green light means it is working properly.
Pros: Cleaning the brush roll is quick and significantly improves carpet cleaning performance. Cons: You need to do this regularly, especially in homes with pets or people with long hair.
How to Check the Vacuum Belt for Wear or Damage
The belt connects the motor to the brush roll. If the belt is broken, stretched, or slipping, the brush roll will not spin. This means your vacuum cannot agitate carpet fibers or push dirt toward the suction channel.
Remove the bottom plate of your vacuum to access the belt. A healthy belt feels firm and stretchy. A worn belt looks thin, feels loose, or has visible cracks. If the belt snaps easily when you stretch it, replace it immediately.
Installing a new belt is straightforward. Loop the new belt around the motor shaft first, then stretch it onto the brush roll. Reattach the bottom plate and test the vacuum.
Most manufacturers recommend replacing the belt every 6 to 12 months, even if it still looks fine. Belts lose tension over time and quietly reduce your vacuum’s performance.
Pros: Replacement belts are cheap and installation takes about 10 minutes. Cons: You need to know your vacuum’s exact model number to buy the correct belt size.
How to Detect and Fix Air Leaks in Your Vacuum
Air leaks break the sealed system your vacuum needs to create suction. Even a small crack or loose connection can cause a noticeable drop in cleaning power.
Run your hand along the hose, wand, and all connection points while the vacuum is running. You will feel air blowing out wherever there is a leak. Listen for a hissing or whistling sound, which also signals an air leak.
For small cracks in the hose, wrap the area tightly with electrical tape or duct tape as a temporary fix. For loose connections, make sure every fitting clicks securely into place. Check that the dust canister lid seals properly too.
If the hose has a large tear or has become brittle, replace it entirely. A cracked hose cannot maintain the airtight seal your vacuum requires.
Pros: Identifying air leaks is easy once you know what to look and feel for. Cons: Tape repairs are temporary and may not hold long term, so a full replacement part may be needed eventually.
How to Adjust the Height Setting for Your Floor Type
This is a surprisingly overlooked cause of poor suction. If your vacuum’s height setting is wrong for your floor type, the cleaning head cannot form a proper seal with the surface.
For thick or high pile carpets, raise the vacuum head to its highest setting. For hard floors or thin rugs, lower it to the closest setting. The vacuum should glide smoothly without feeling like it is stuck to the floor or floating above it.
A setting that is too low on thick carpet can choke the airflow because the vacuum presses too tightly against the fibers. A setting that is too high lets air escape underneath the cleaning head, which reduces suction.
Test different settings by vacuuming a small area and checking the results. The correct height produces a smooth, consistent airflow sound and picks up debris effectively.
Pros: This fix takes seconds and requires no tools or parts. Cons: Not all vacuums have adjustable height settings, so this solution does not apply to every model.
How to Clean the Suction Inlet and Nozzle Opening
The suction inlet is the small opening where dirt enters the vacuum from the cleaning head. Debris can build up around this opening and restrict airflow without creating a full blockage.
Unplug your vacuum and turn it over. Look at the opening where the brush roll sits. Remove any visible debris, hair, or lint packed around the edges. Use a damp cloth to wipe away caked on dust.
Check the transition point where the cleaning head connects to the main body or hose. This junction point is a common spot for partial blockages that slowly reduce suction over weeks.
If your vacuum has a removable nozzle or floor tool, detach it and clean the inside thoroughly. Small objects sometimes lodge in these areas and go unnoticed for months.
Pros: This is a free and fast fix that many people overlook. Cons: You need to do this as part of regular maintenance to prevent buildup from returning.
How to Test the Vacuum Motor for Problems
If you have checked everything else and your vacuum still has no suction, the motor might be the problem. A failing motor will sound different from a healthy one. Listen for grinding, rattling, or a high pitched whining noise.
Feel the vacuum body after running it for a few minutes. If it feels unusually hot, the motor may be overheating due to internal damage. Overheating can result from years of running with clogged filters that starved the motor of cooling airflow.
A burning smell is a serious warning sign. Turn off the vacuum immediately if you notice this. The motor or wiring could be damaged.
You can test the motor’s electrical continuity with a multimeter if you have one. However, motor repair or replacement is best left to a qualified technician because it involves electrical components.
Pros: Identifying a motor issue prevents further damage and potential safety hazards. Cons: Motor repair or replacement is expensive and may not be cost effective for older vacuums.
How to Maintain Your Vacuum to Prevent Future Suction Loss
Prevention is always easier than repair. A regular maintenance routine keeps your vacuum running at full power and extends its lifespan by years.
Empty the dust container after every use or when it reaches 75% full. Wash or replace filters on the schedule your manufacturer recommends. Most filters need attention every 1 to 3 months.
Clean the brush roll weekly if you have pets. Check the hose for blockages once a month. Inspect the belt every 3 months and replace it every 6 to 12 months.
Store your vacuum in a dry area to prevent mold growth on damp filters. Avoid running over large objects, liquids, or fine construction dust that can damage internal components.
Pros: Regular maintenance prevents most suction problems before they start. Cons: It requires a small time commitment that some people forget or skip.
How to Decide Whether to Repair or Replace Your Vacuum
Sometimes fixing a vacuum costs more than buying a new one. Knowing when to stop repairing saves you money and frustration.
Use the 50% rule as a guide. If the repair cost exceeds half the price of a comparable new vacuum, replacement is the better financial decision. A vacuum that is over 8 to 10 years old with multiple failing parts is usually not worth repairing.
Signs you should replace include a motor that overheats repeatedly, cracked or broken housing, electrical issues, and persistent suction loss even after all fixes. Recurring problems suggest the machine is at the end of its useful life.
However, if your vacuum is less than 5 years old and the issue is a single part like a belt, filter, or hose, repair makes perfect sense. Quality vacuums are built to last with proper care and timely part replacements.
Pros: Replacing an old vacuum gives you newer technology and better efficiency. Cons: A new vacuum is a bigger upfront cost compared to a simple repair.
How to Troubleshoot Suction Loss in Different Vacuum Types
Different vacuum types have unique trouble spots. Upright vacuums most commonly lose suction because of clogged brush rolls, broken belts, and full dust containers. Check these three areas first.
Canister vacuums tend to develop suction issues at the hose connections and wand joints. These models have longer airflow paths, which means more places for blockages and air leaks to occur. Inspect every connection point carefully.
Stick and cordless vacuums lose suction power as the battery weakens. A dying battery cannot power the motor at full speed. Check the battery level and consider replacement if the vacuum is more than 2 years old and runtime has dropped significantly.
Robot vacuums rely on clean sensors and unobstructed brush rolls. Dirty sensors cause navigation problems, while tangled brush rolls reduce pickup power. Clean the sensors with a dry cloth and remove hair from the brushes after each use.
Pros: Knowing your vacuum type helps you target the most likely problem faster. Cons: Some type specific issues like battery degradation require purchasing replacement parts.
Frequently Asked Questions
How do I know if my vacuum motor is bad?
A bad vacuum motor shows clear symptoms. You may hear grinding, rattling, or high pitched whining sounds. The motor may overheat quickly, and you might smell a burning odor. If the motor runs but produces zero suction after you have ruled out all other causes like clogs and leaks, the motor is likely failing. Test the motor with a multimeter for electrical continuity if you have the skills, or take it to a repair shop for a professional diagnosis.
How often should I replace my vacuum filters?
Most manufacturers recommend replacing or cleaning vacuum filters every 3 to 6 months. HEPA filters typically last 6 to 12 months with regular use. Washable filters should be rinsed under cool water once a month and allowed to dry completely before reinstalling. Homes with pets or allergy sufferers may need to clean or replace filters more often because they collect extra dander and fine particles.
Why does my vacuum have suction at the hose but not at the floor head?
This usually means there is a blockage between the hose connection and the floor head. Check the transition tube, the wand, and the cleaning head itself for trapped debris. Also verify that the brush roll is spinning freely and the height setting is correct for your floor type. A loose connection between the wand and the floor head can also cause air to escape before it reaches the cleaning surface.
Can I fix a cracked vacuum hose permanently?
A small crack can be temporarily sealed with strong electrical tape or duct tape. However, this is not a permanent fix. Over time, the tape will loosen and the air leak will return. For a lasting solution, replace the hose entirely. Replacement hoses are available for most vacuum models and are straightforward to install.
Is it worth repairing an old vacuum cleaner?
It depends on the vacuum’s age, the cost of repair, and the type of problem. If the repair costs more than 50% of a new vacuum’s price, replacement is usually smarter. However, a high quality vacuum that only needs a new belt, filter, or hose is almost always worth repairing. Vacuums under 5 years old with minor issues should be fixed rather than discarded.
Why does my vacuum smell bad when I use it?
A bad smell often comes from a dirty dust container, a moldy filter, or trapped food debris inside the hose. Empty the canister and wash or replace all filters. Run a dry cloth through the hose to remove stuck residue. If the smell is a burning odor, turn off the vacuum immediately. That signals a belt, motor, or electrical problem that needs attention right away.

Hi, I’m Grace Bell, the founder of CleanFloorVault.com, where I personally test and review vacuum cleaners to help you find the perfect tool for a spotless home.